Some medieval openwork objects had backings against which the cast pewter stood out. These pieces can be identified by the little tabs that stick out from the edges, which were bent in to keep the backing in place. In many cases the backing has disappeared; these may have had backings made of parchment or paper – or cloth backed with parchment or paper. Some extant pieces have metal backings. Many of those are probably pewter sheet, but there are a handful of later examples with copper alloy sheet. We use paper and brass (or occasionally copper) sheet for some of our excellent items. The process is simple and creates really beautiful results.
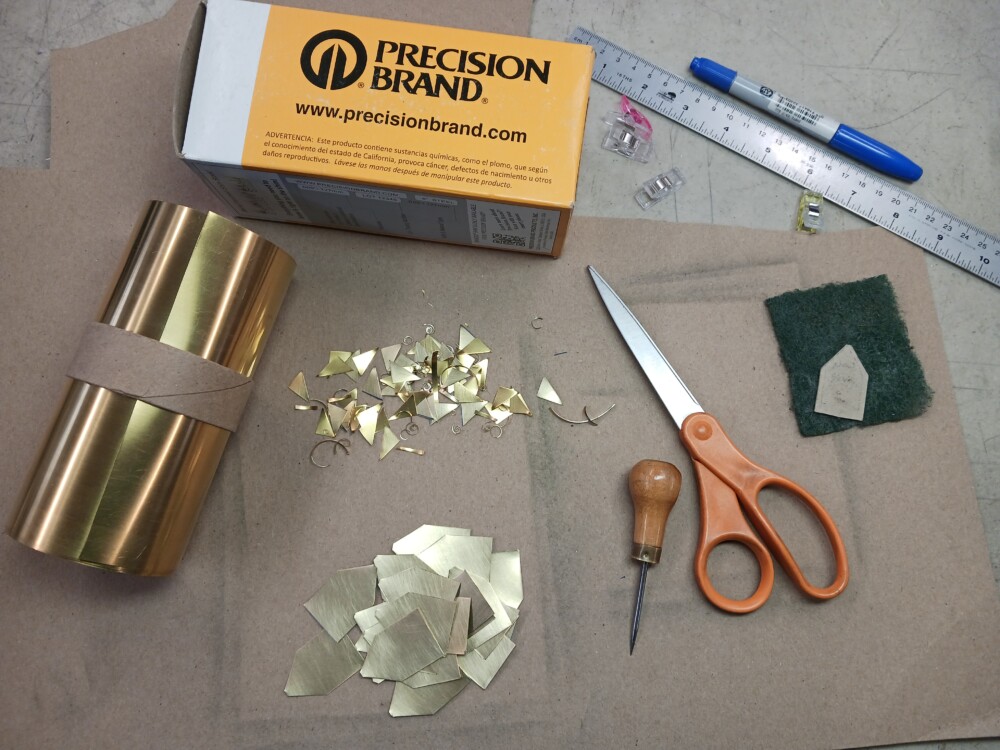
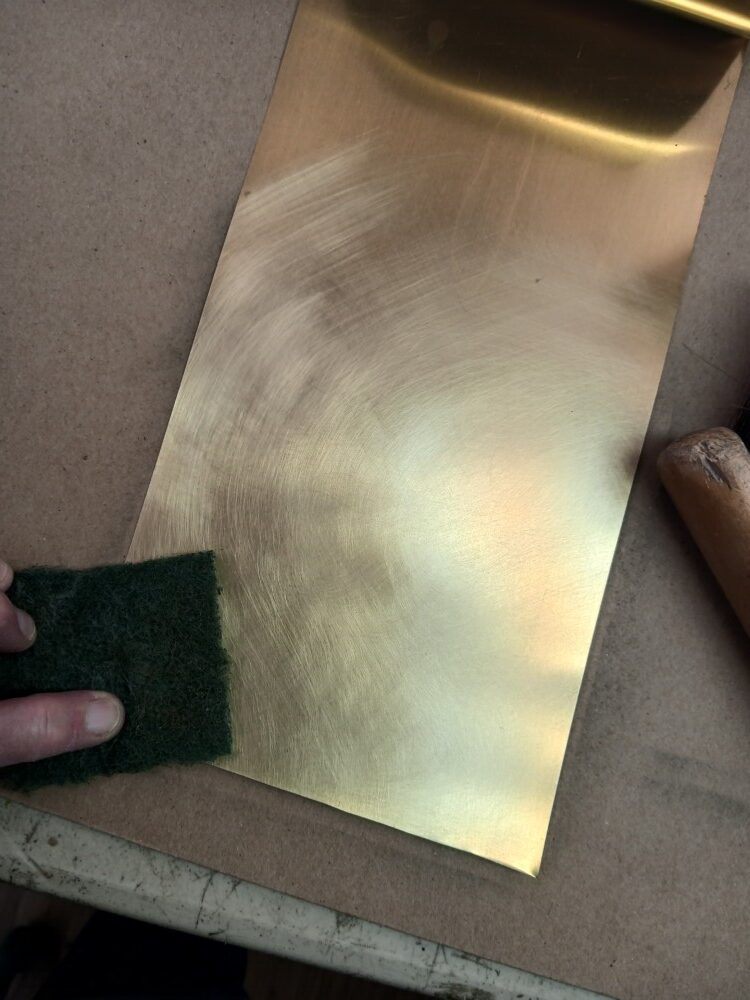
We buy our metal sheet in rolls as half-hard brass shim stock. Of course, we do not need the accuracy of shim stock, but it is a convenient way to purchase and store what we need. Most of our backings are .008 inch (.2mm) thick. As the roll of metal sits in our shop it gradually gets dull. We clean the oxide off and brighten up the sheet before we make the backings. Because the areas that are exposed are small – and surrounded by bright pewter – we finish with an unobtrusive circular pattern of fine scratches from the abrasive pad, rather than trying for a polish.
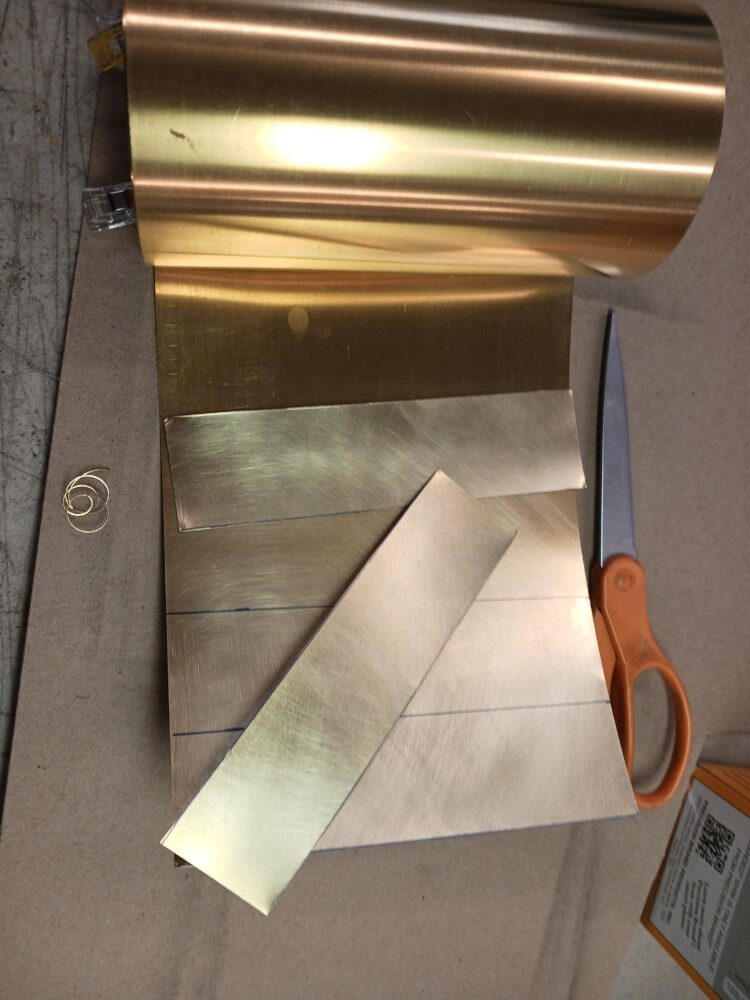
We cut the sheet off in strips wide enough to cut the backings from. At this thickness, we can use ordinary scissors to cut the sheet.
We use a cardboard template to trace the shape needed for each backing. The strip is just a little taller than the final piece, so each backing is trimmed on all sides.
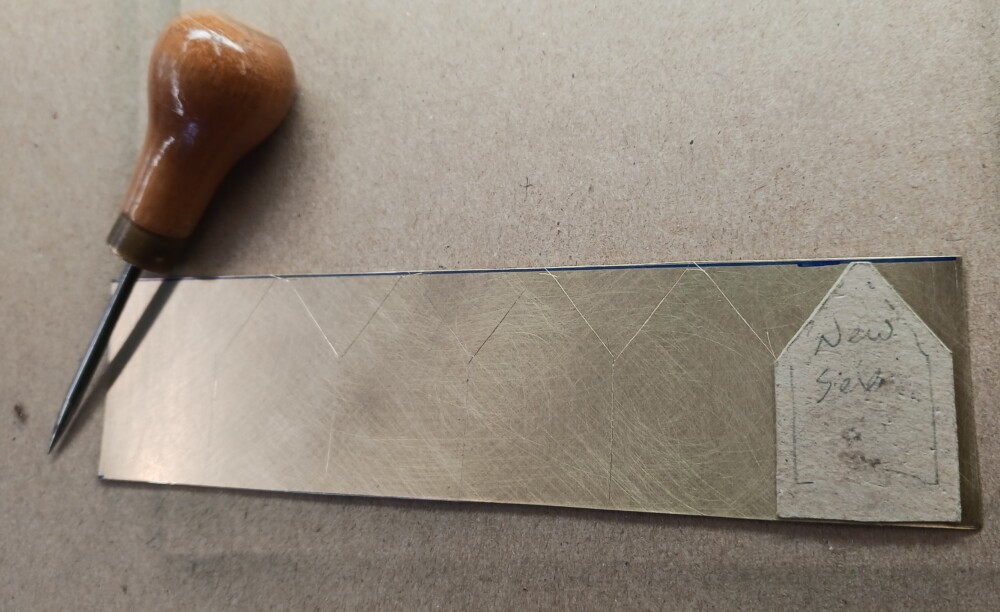
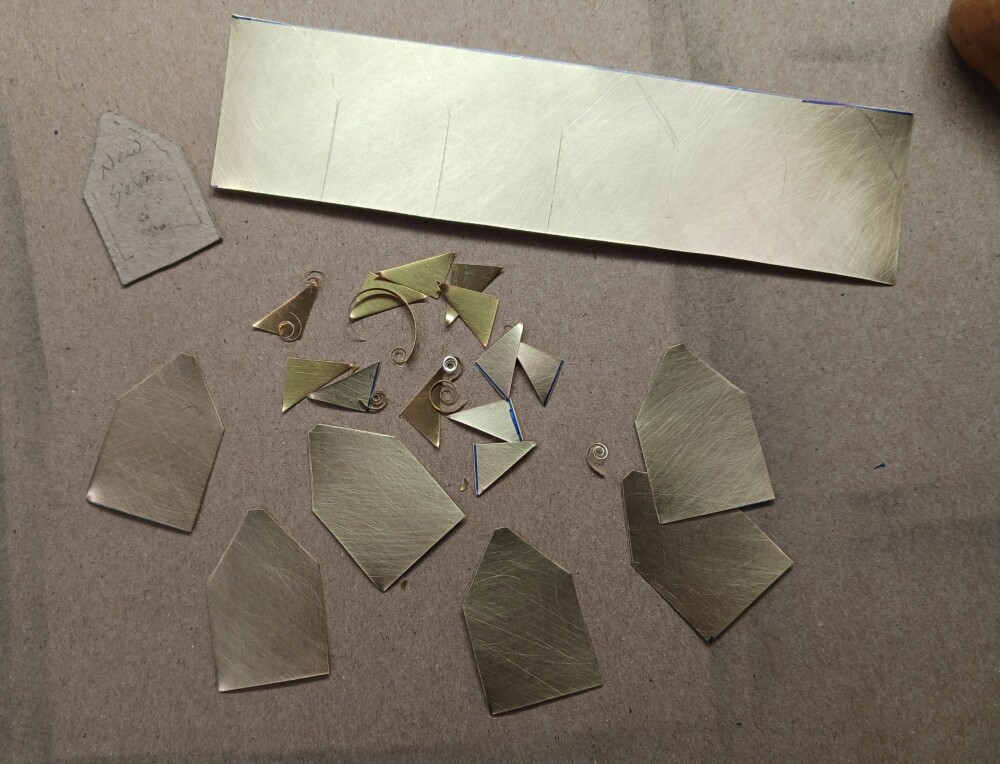
This is just as well, as the cast pendant – and therefore the backing – is not symmetrical. The edges of the backings do not line up perfectly with each other, and trimming them creates many tiny, spiky curls of metal that shoot across the table as they are freed from the sheet. We usually find the last ones a couple of days later, by setting an arm or a hand down on them. Ouch!
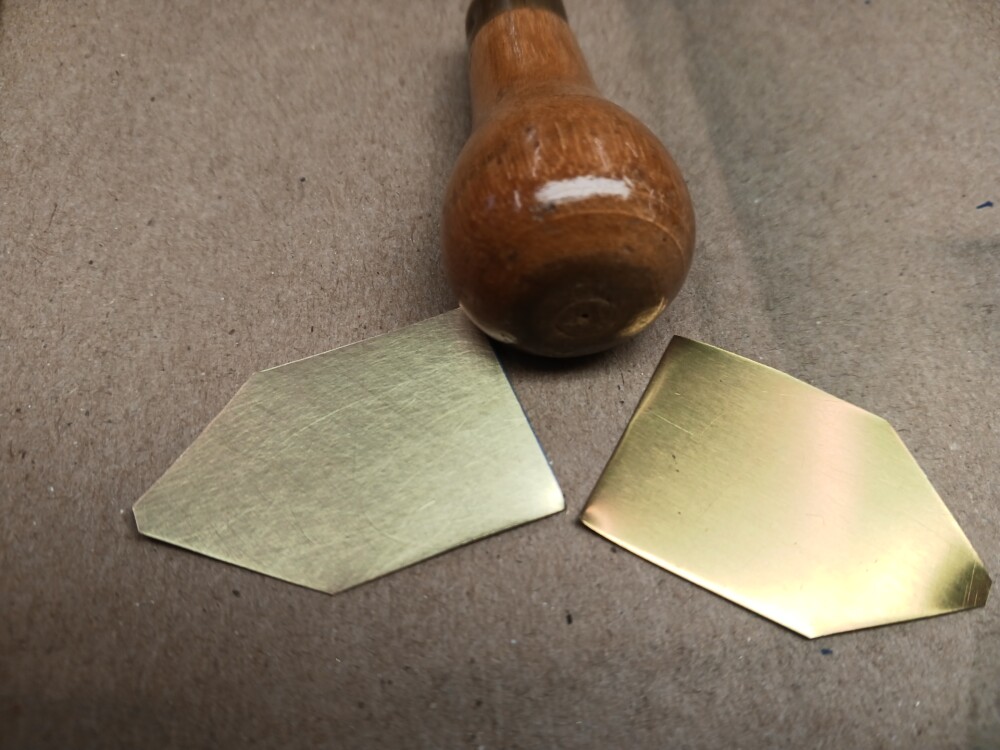
The other result of cutting with the scissors is that the corners of the backings get turned up. We take a minute to flatten them (with the handle of the awl) and then nip them off with the scissors to keep them from catching on clothing when they are worn.
We set the pendants face down and add a backing. Remember that part about how neither the castings nor the backings are symmetrical? Because we only brightened one side of the sheet, and then traced the template on that side, if we put the backings on with the bright side toward the castings, they will always fit.
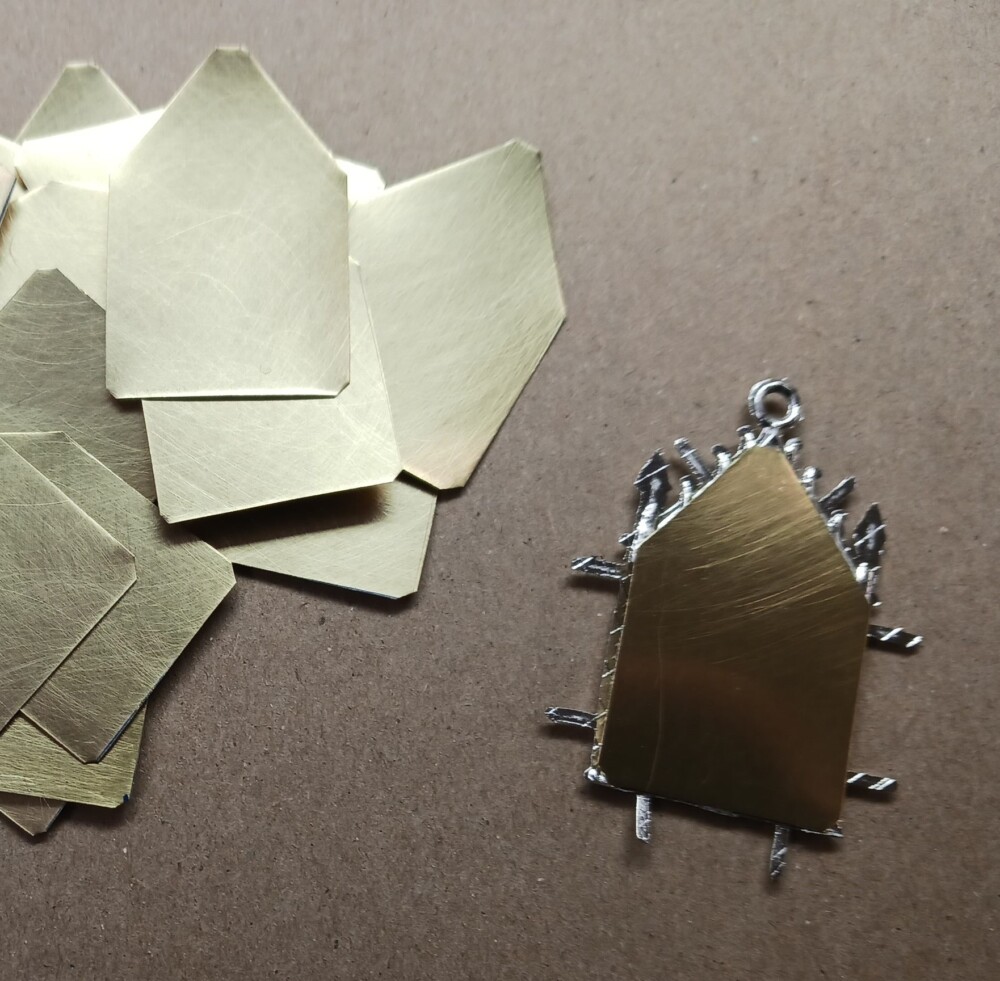
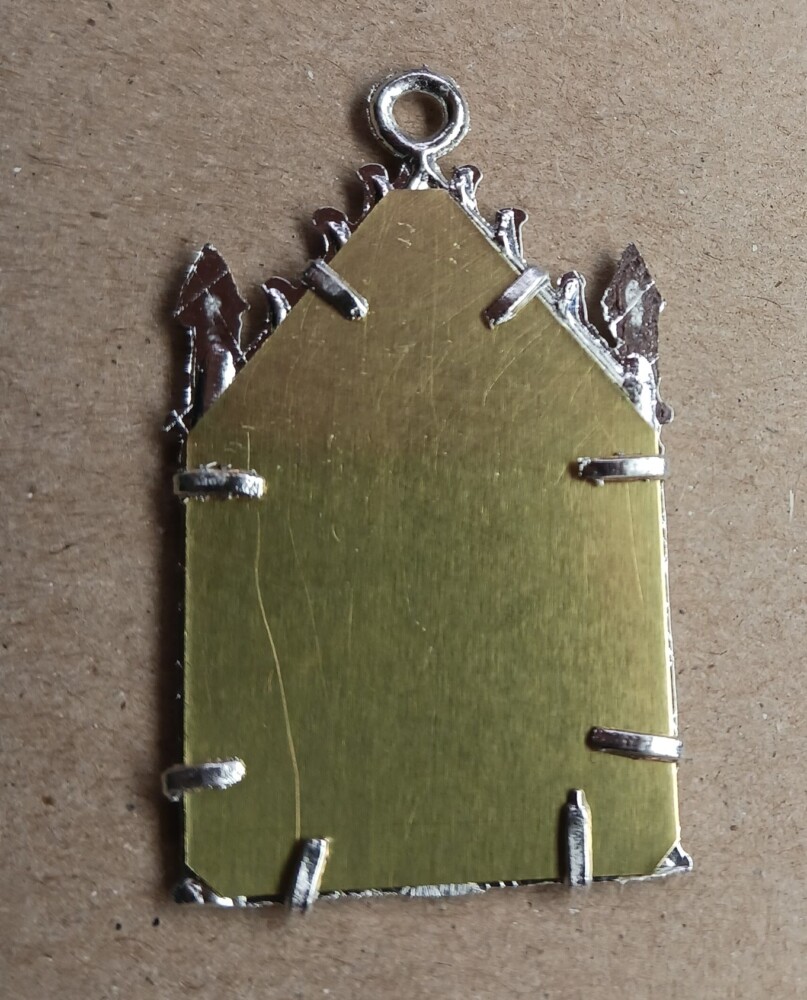
The clips fold over easily and hold the backing in place.
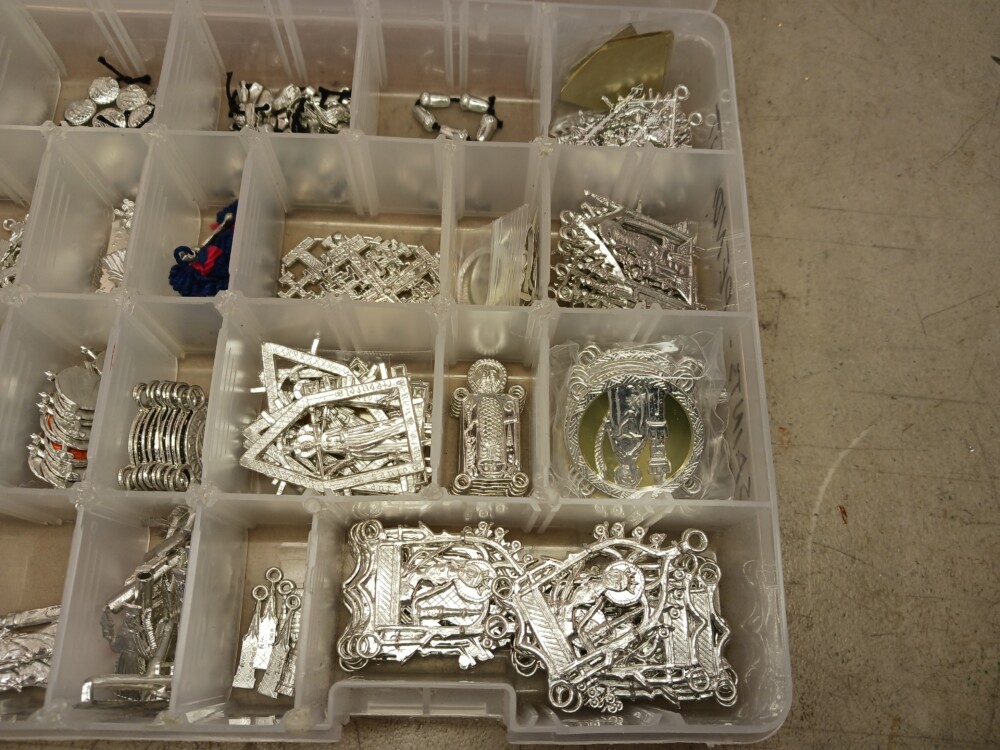
To keep the backings bright while the pendants await their new owners, we keep them them in small plastic bags inside our storage bins. The St. Barbara rondel badges near the front have the backings installed already, so the entire piece must be enclosed. The St. Sebastians at the back are still separate, so only the backings need to be put in a bag.
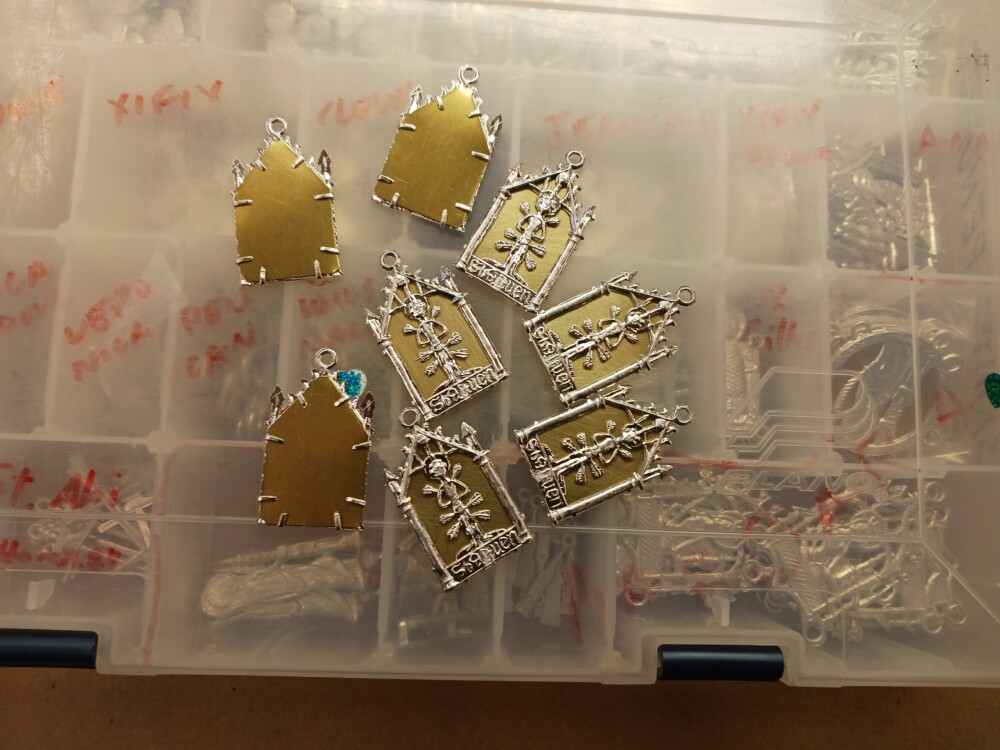
St. Sebastian pendants, ready to go.