We know that there are a couple of steps in making a purse on Billy and Charlie’s frame that can seem perplexing – or even tricky. (Preview the pattern. )Marianne made this purse a number of years ago to show a few of those tricky parts. It’s not so hard at all!
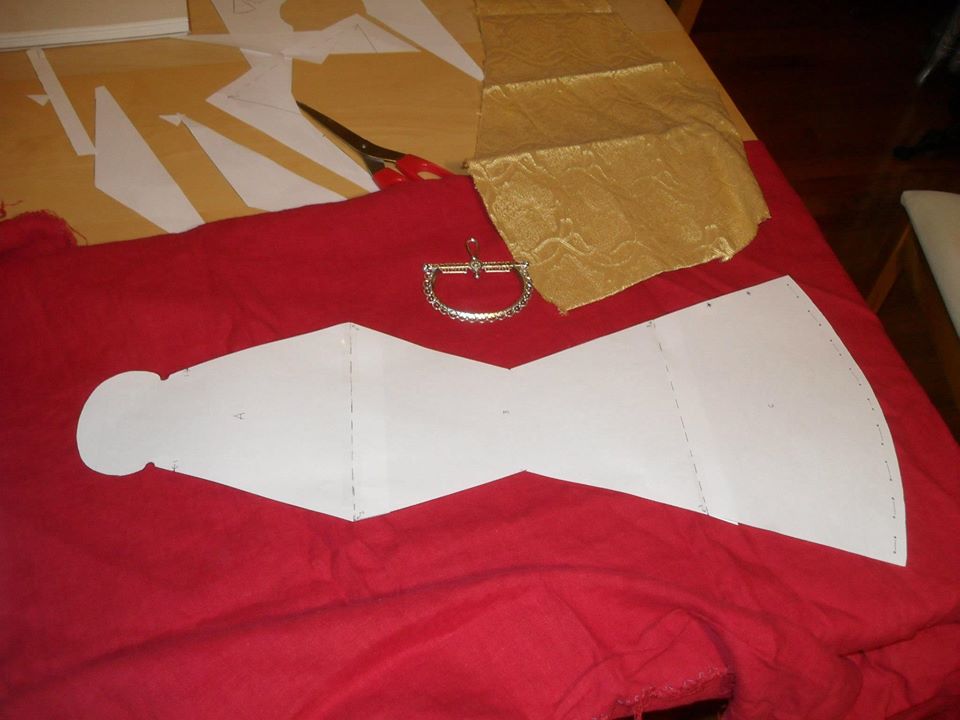
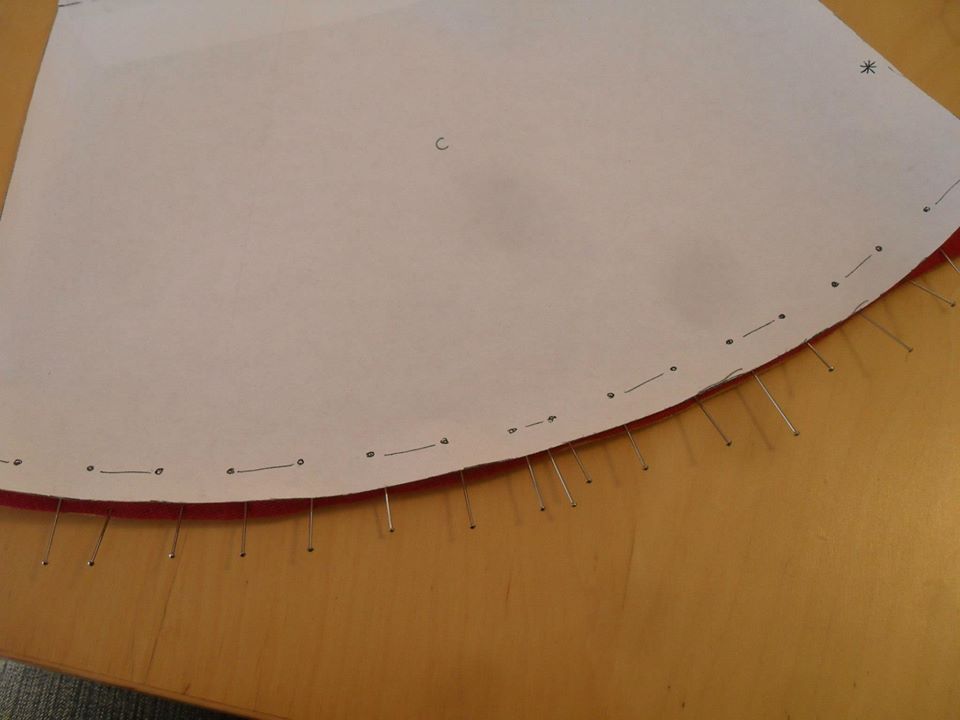
There are two pattern pieces – this is the long piece for the lining. The edge of the pattern is the sewing line, so you need to transfer the outline to the lining fabric first, then cut out adding a seam allowance – or a little more.
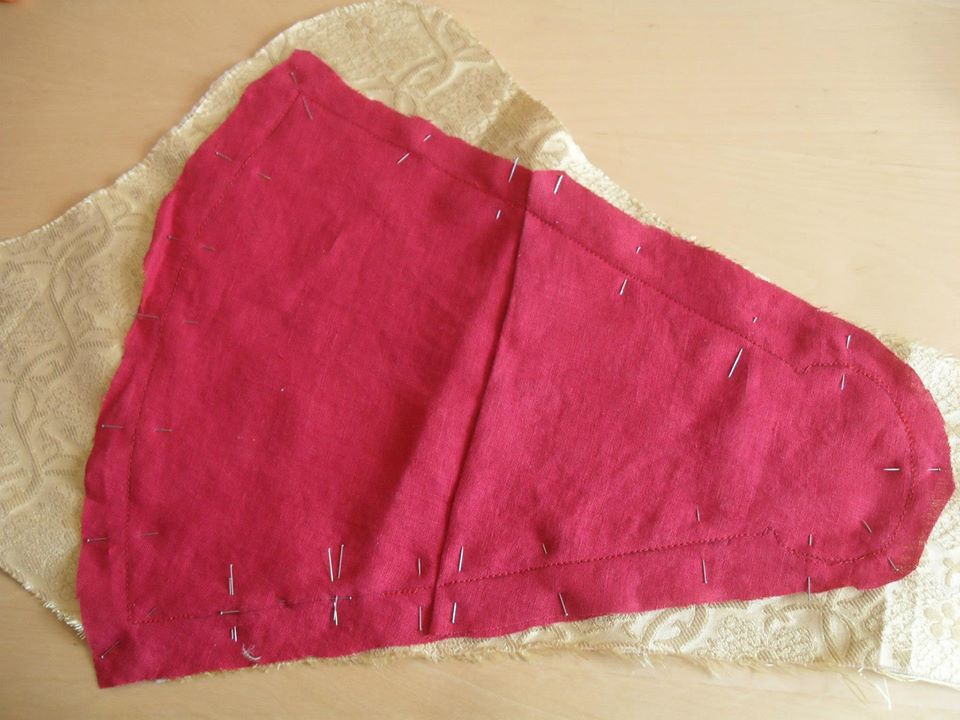
Fold up the central section to make the pocket; here the pins hold it in place. The sewing line is marked on the fabric in dark ink.

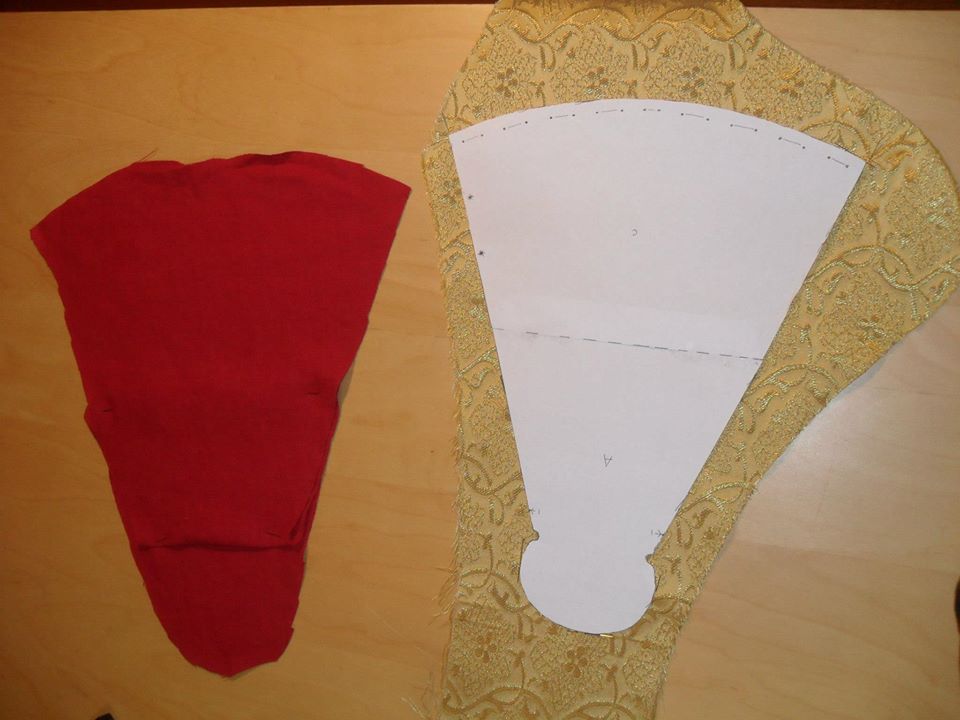
The shorter pattern piece (which is just the longer piece without the middle section) lying on the outer fabric to check size and alignment with the pattern. As before, you do not cut along the line. You will cut the fabric to its final size after sewing the seam. Preview: the broad sweeping edge is going to be gathered into folds and turn into the mouth of the purse.
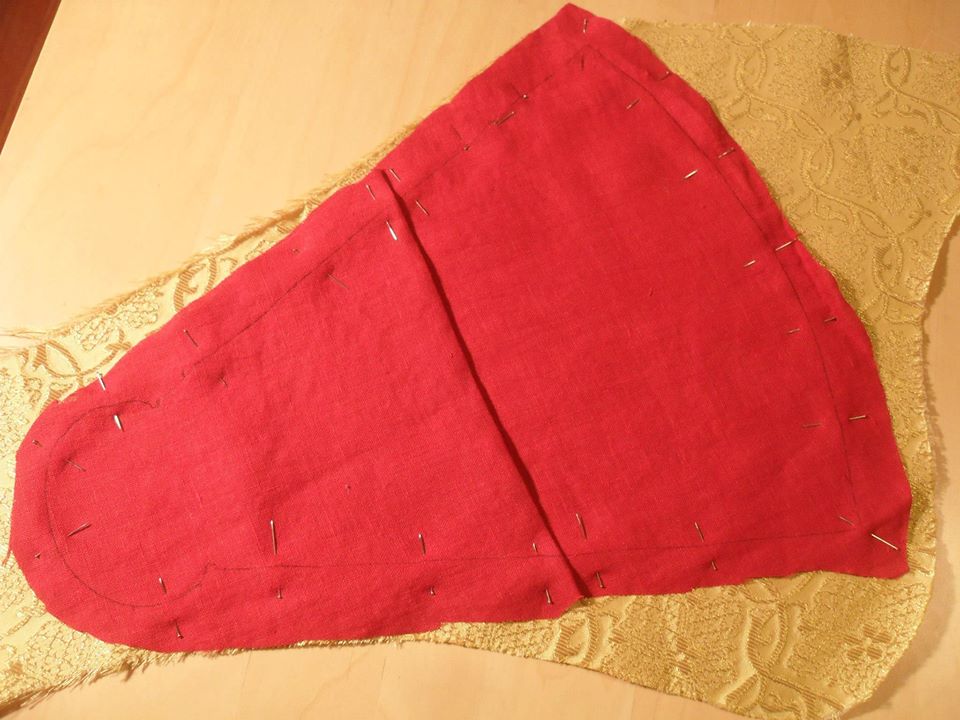
The folded lining pinned to the outer fabric. Be sure to line up any pattern in the outer fabric the way you want, especially if it is possible to arrange it symmetrically (or fail to!).
Pin the fabrics together so that the longer/wider lining fold is exposed, as in the photo below. The shorter fold is shown in the photo above; when you pin the pieces together that fold is hidden.
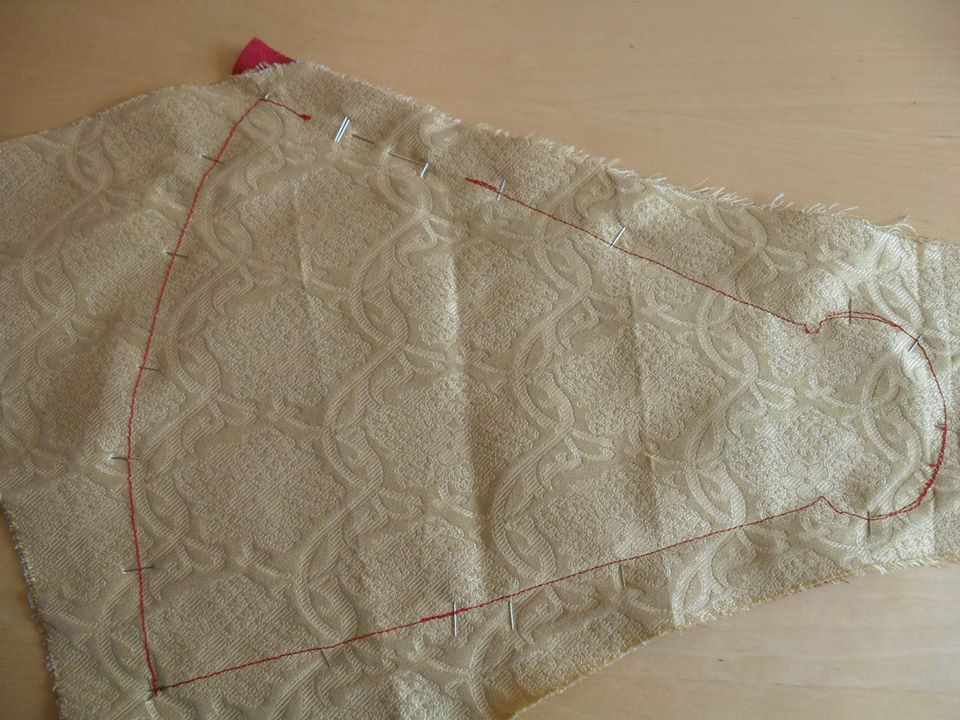
Sew along the seam line, leaving an opening along one edge, where the pattern shows it. The three pairs of pins at the bottom of this photo mark the opening.
Seen from the other side, the opening is easy to see.
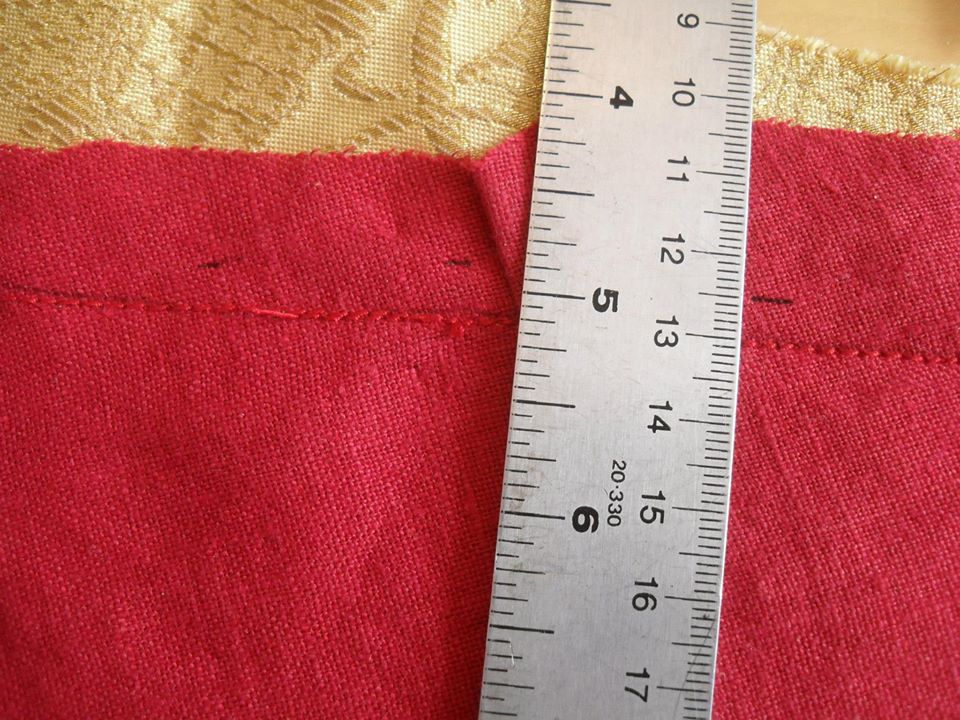
Mark the line for the seam allowance if you do not feel comfortable cutting free-hand.
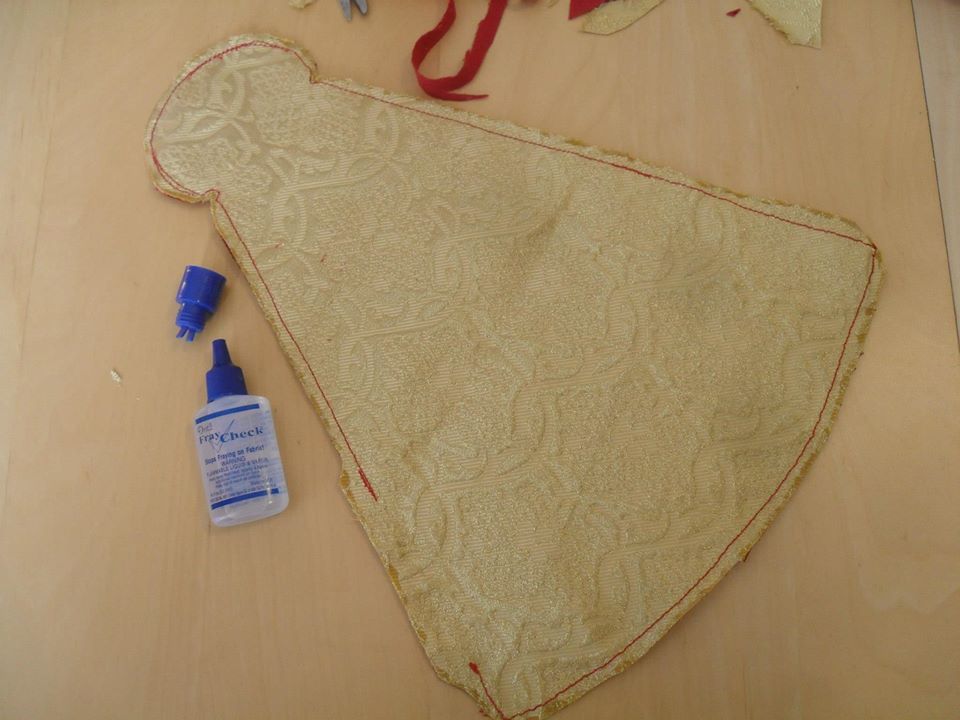
Trim the seams and clip the corners and the tight place at the top where you will attach the frame. Leave enough seam allowance at the opening to turn it and finish it securely I used Fraycheck because the brocade wanted to ravel. This is a good idea with our purse kits made with Sartor’s fancy brocades as well.
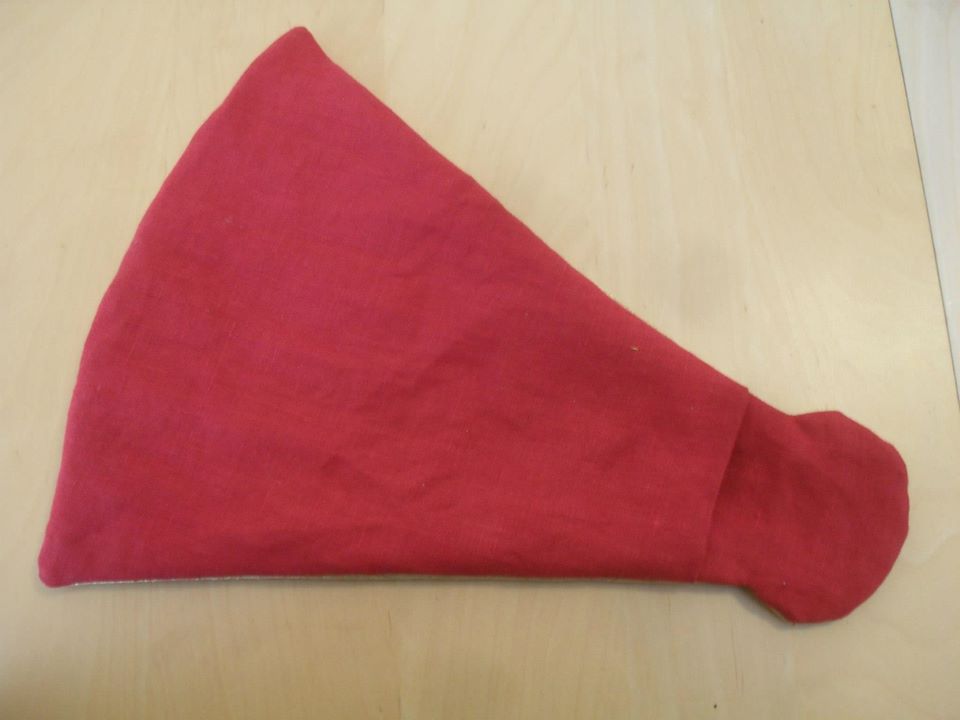
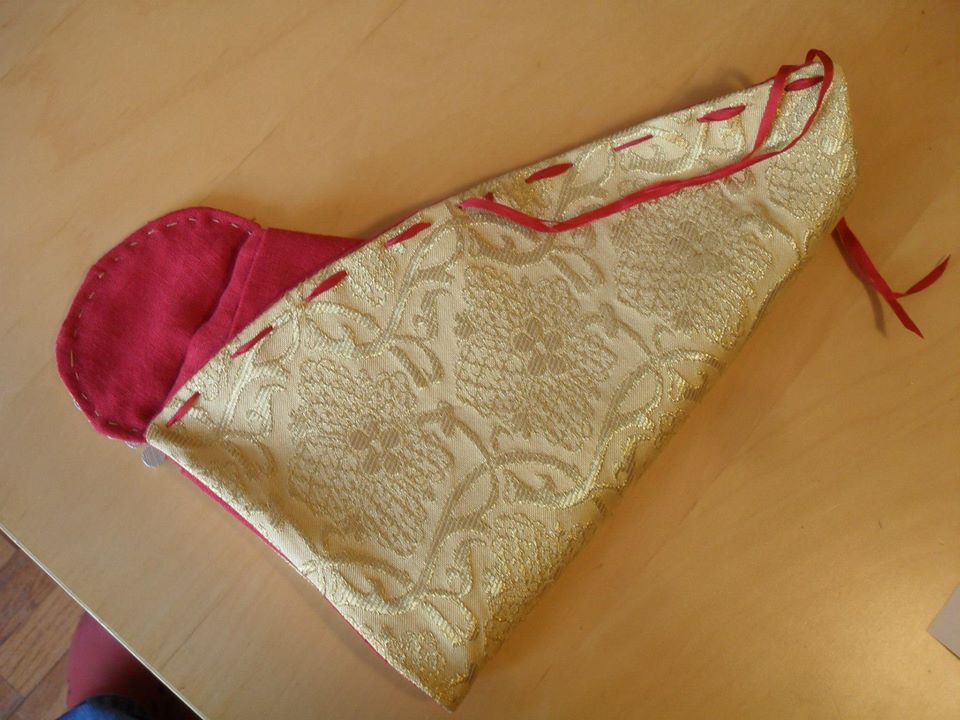
Turn the purse right side out.
Iron, pressing all the seams and tightly turned corners.
I stitched up the opening the purse was turned through. This area will be included in another seam, so you can skip this step if you want to take a little extra care in a later step, when you sew the sides of the purse closed.

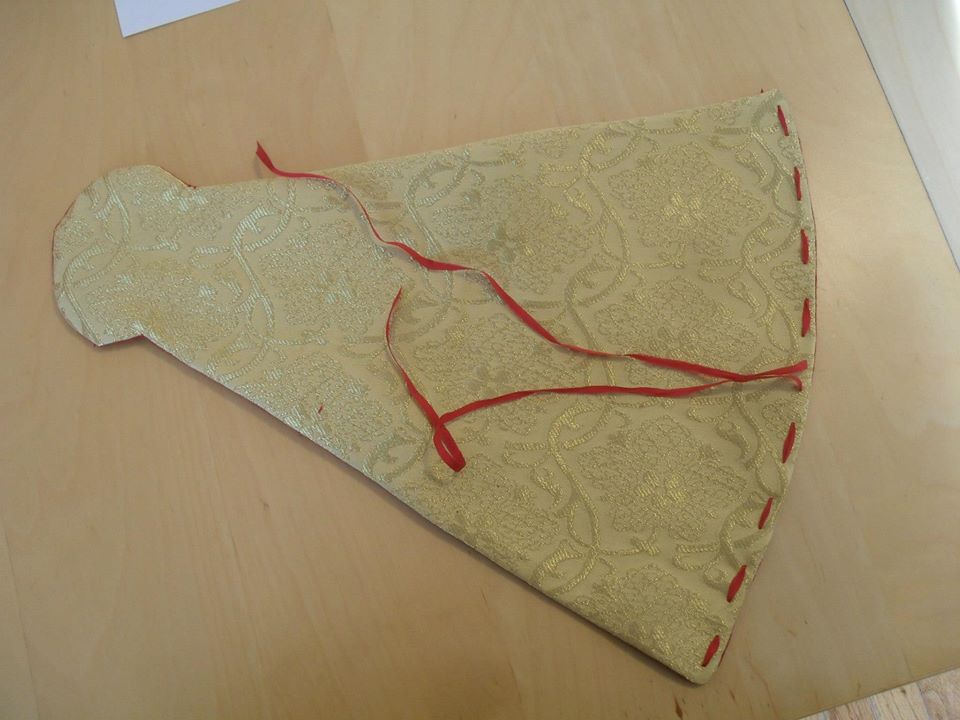
Mark the spacing for the drawstring, as per the pattern. After I had made a couple of purses, I did this more casually with marking chalk. It will look best if it is pretty even.
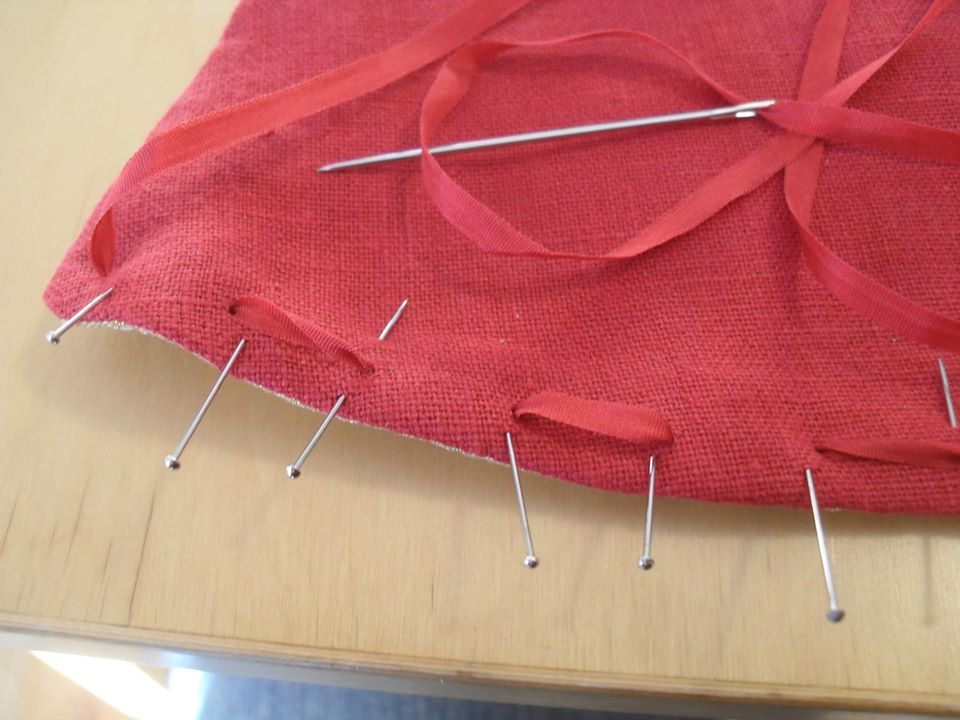
Weave your ribbon or cord in and out of the long edge of the purse, starting and ending on the lining side. Use a needle with a large enough eye to carry your ribbon. You may want to experiment a bit with scrap fabric and different types of needle; in some fabrics a blunt point will be more satisfactory.
Tie knots at each end, and bring the extra length of the ribbon to the center on the outside.
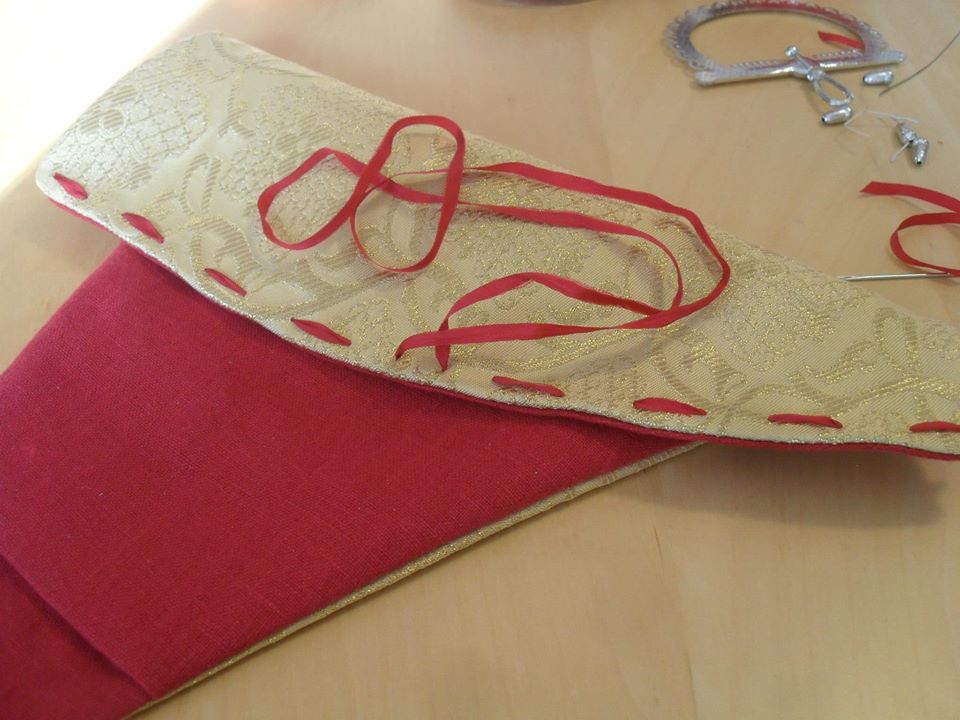
Cut the loop of ribbon in the middle.
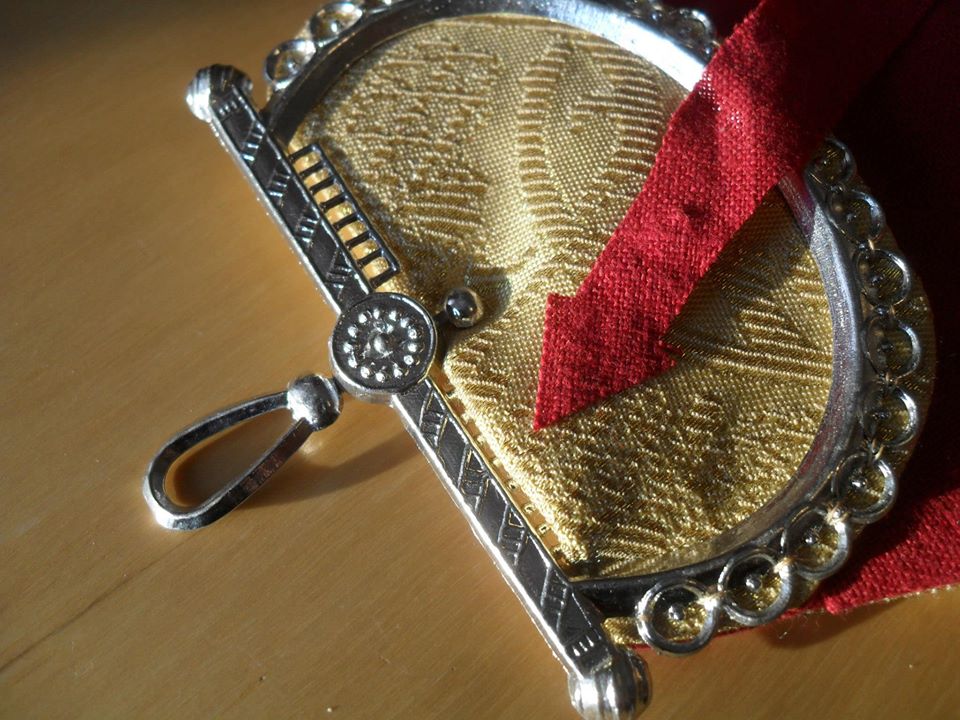
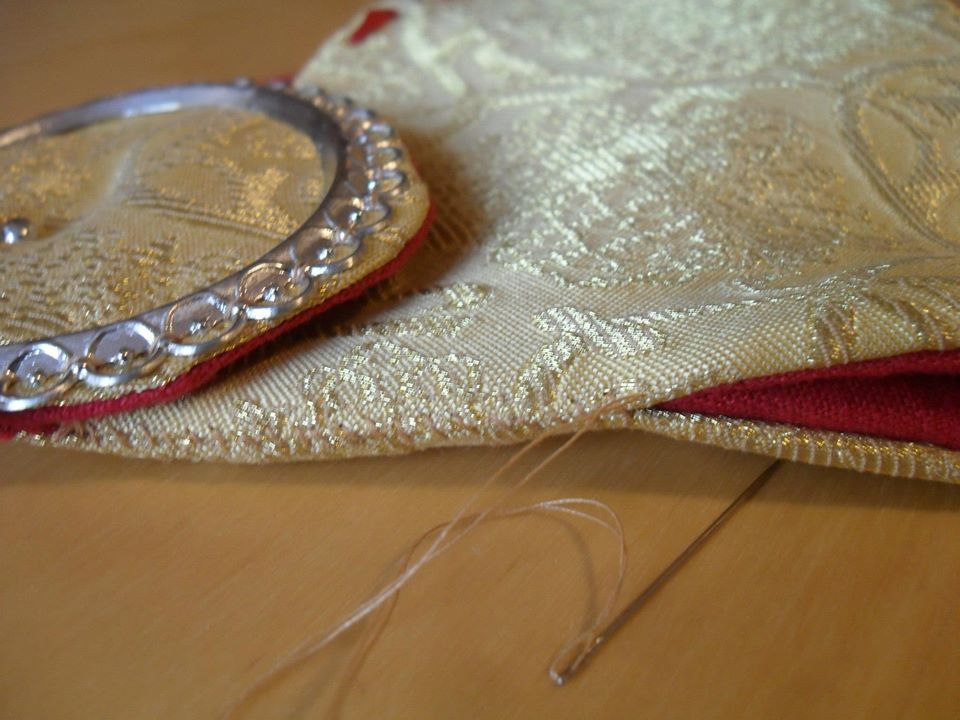
It’s finally time to sew the frame and fabric together. Check the alignment and make sure the frame is perpendicular to the fabric when you line up the bar of the frame with the narrow part of the purse.
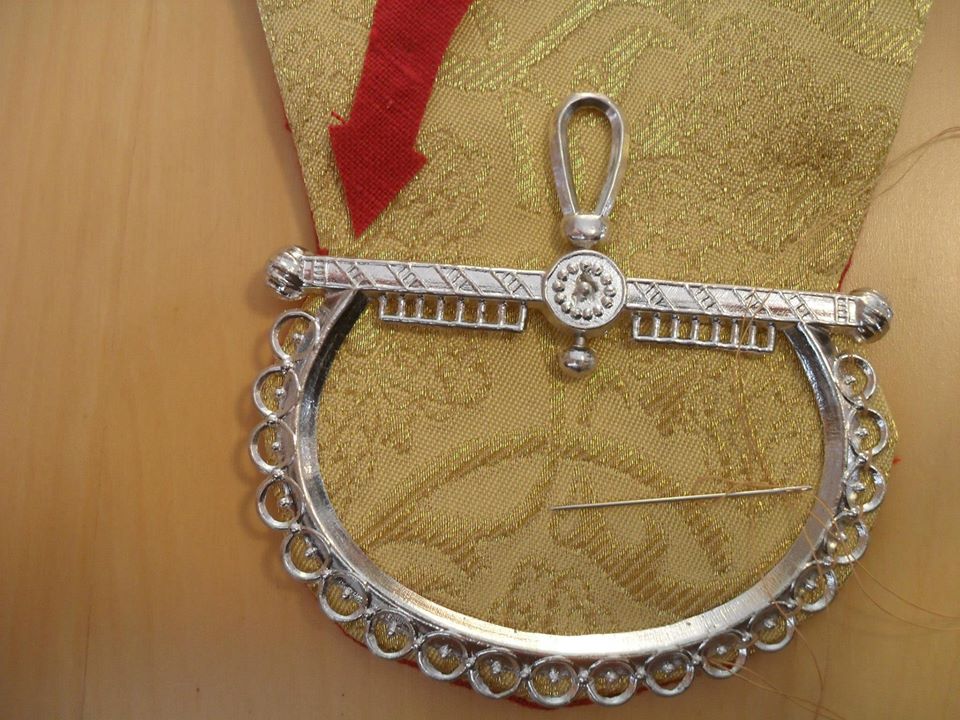
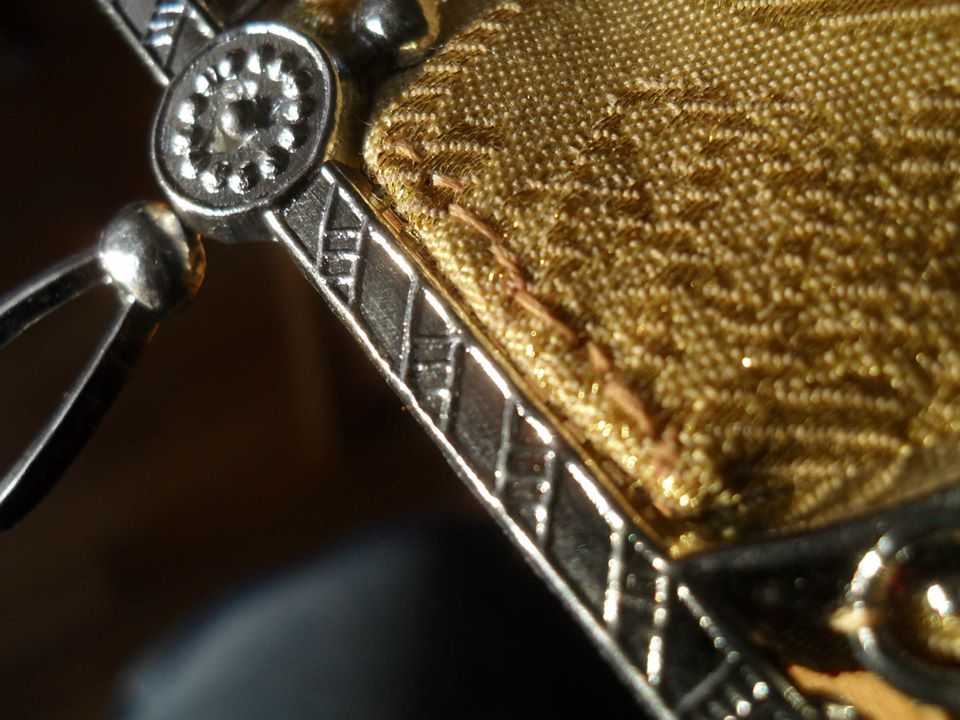
Stitch through the loops around the edge, keeping everything as even as possible.

The frame stitched in. Tracy Justus (Mistress Clare de Crecy), who developed this pattern does this so much more neatly than I do, it’s embarrassing. Probably many of you will also exceed my performance.
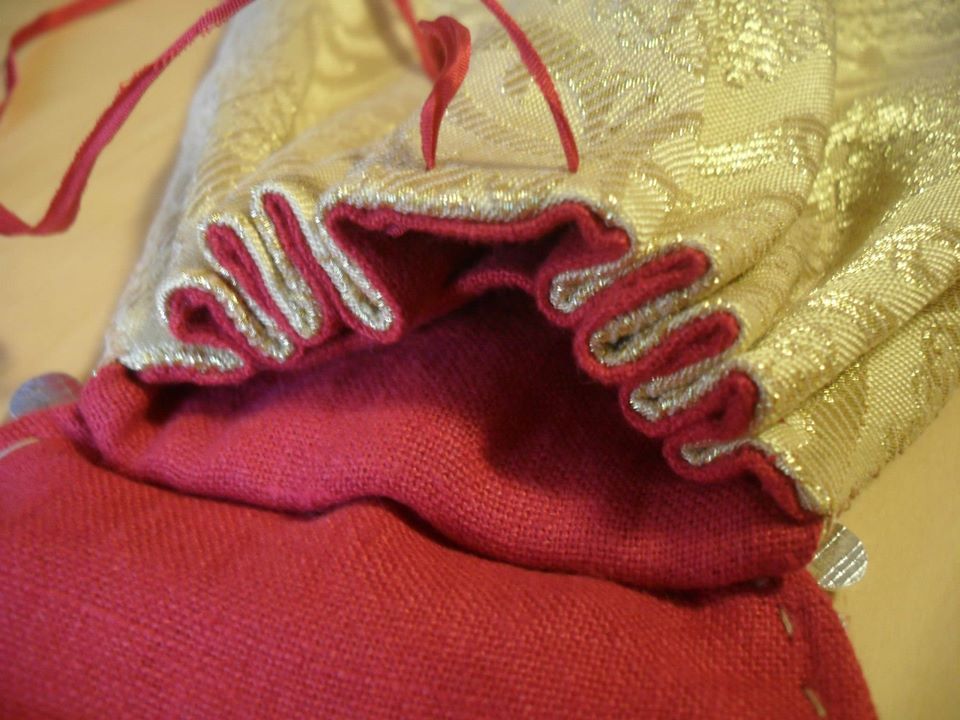
20 – Fold the purse along the top edge. Tweedle the fabric to cover the arcading inside the frame. One side is shown brought forward – make the other side match, but leave the fabric behind the pivoting knob in the middle. It may take a little fidgeting, but it fits in nice and tight when you get it lined up.
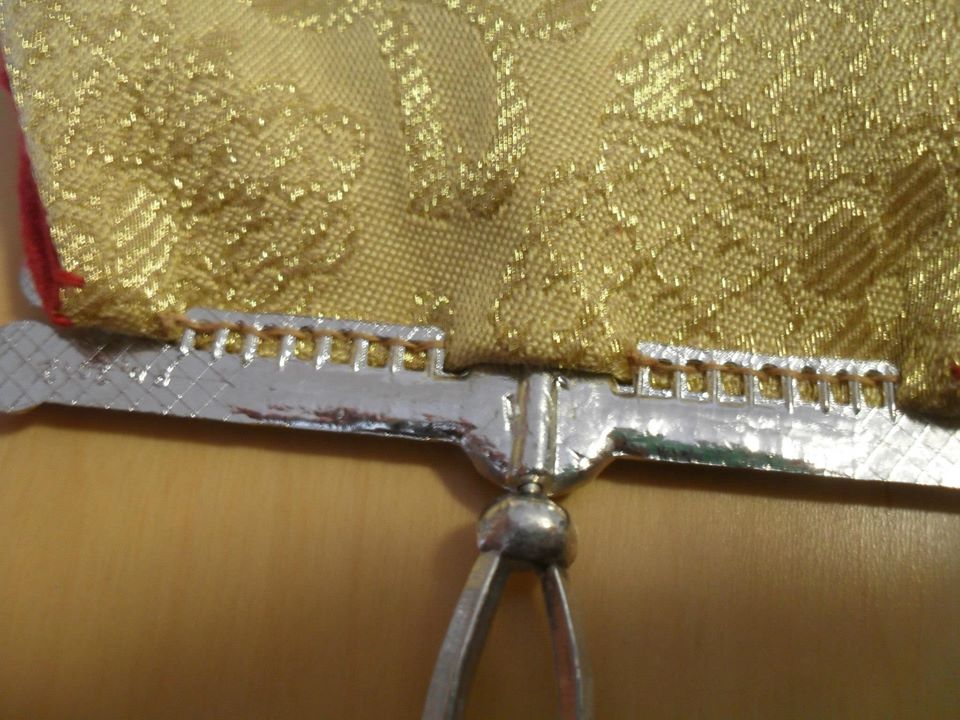
The top edge of the purse sewn down over the arcade.
Both sides sewn, seen from the back.
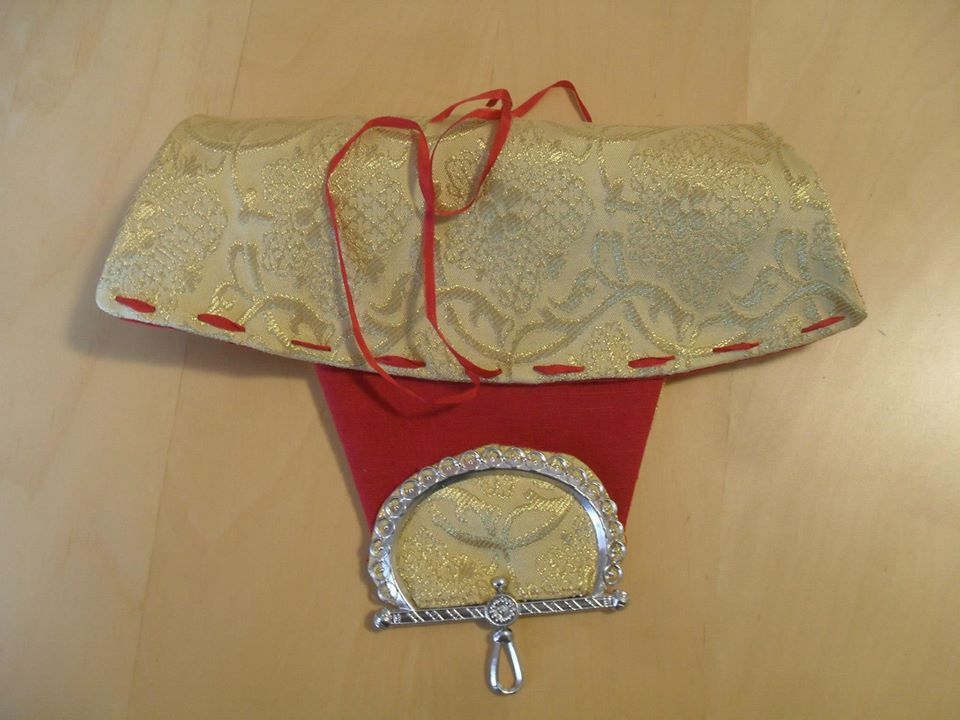
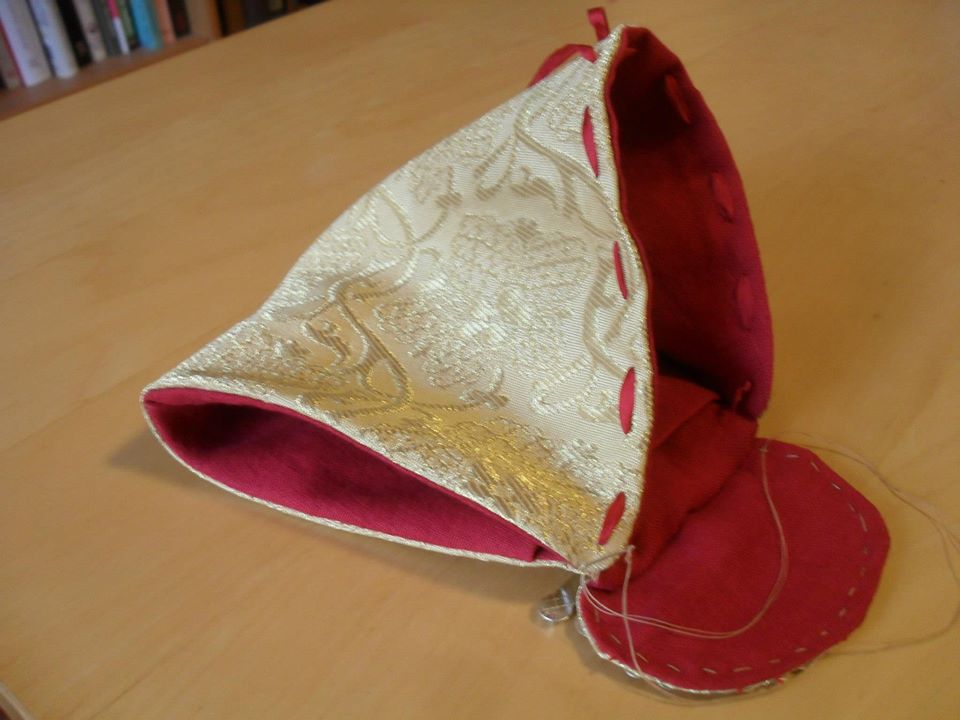
Ready for final assembly into a purse!
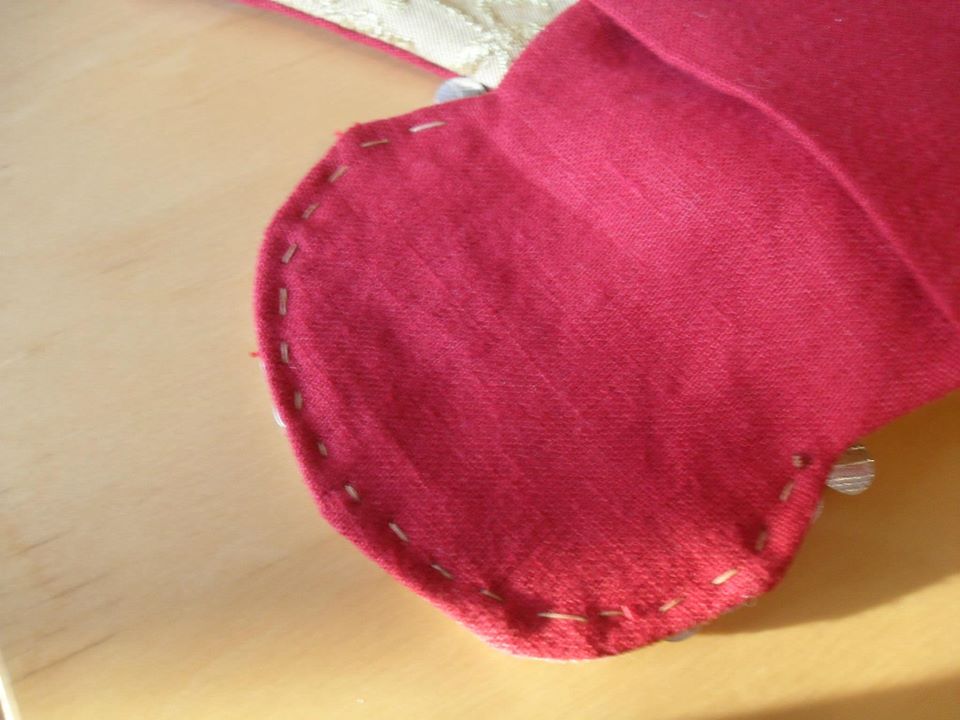
Line up one side, bringing the edges together at the top.
Sew the edges of the purse closed. If the outer fabric is at all fragile, be sure to catch enough of the lining to make the seam strong.
Line up and sew the second edge.
Draw up the ribbon/cord to form the gathered purse mouth.
Thread bead(s) onto the ribbon or cord. Although only one ribbon is shown in this photo, if you want to use the bead to help keep the purse tight, you need to put both ribbons though the single bead. Check out the second photo below.
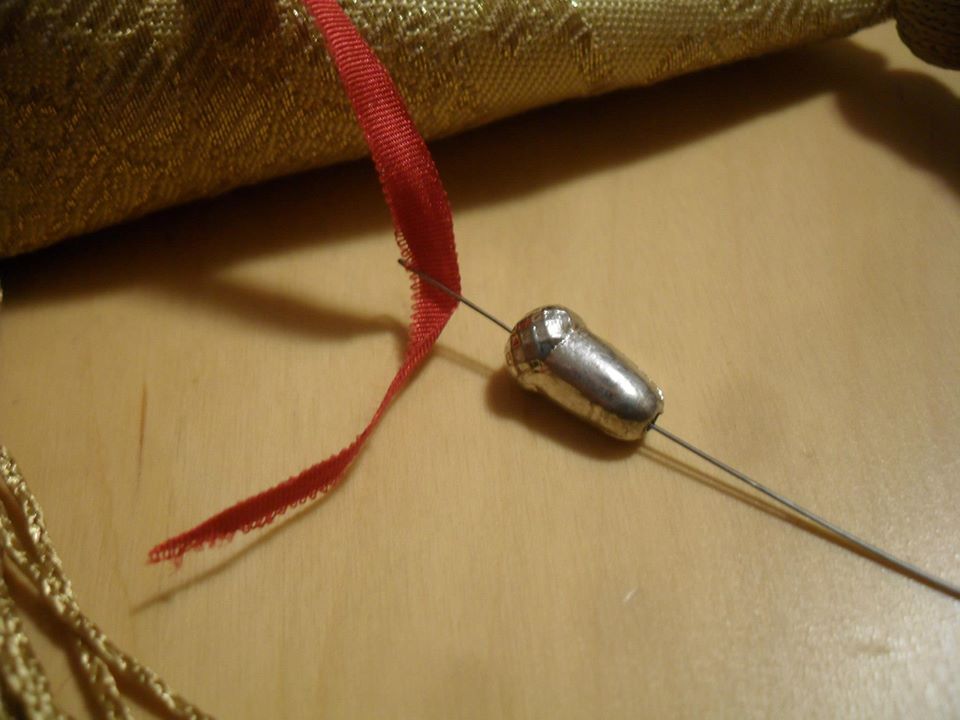
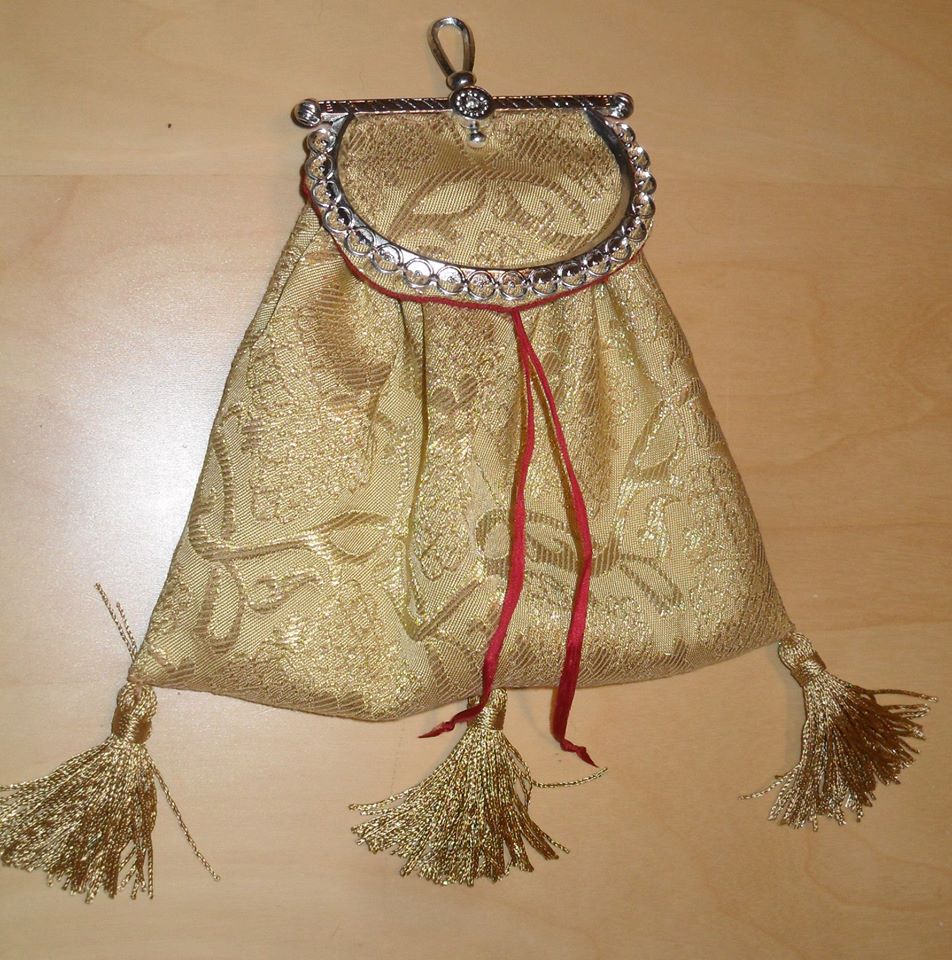
The beads drawn up to help keep the mouth of the purse closed without tying the strings. Add tassels to taste!
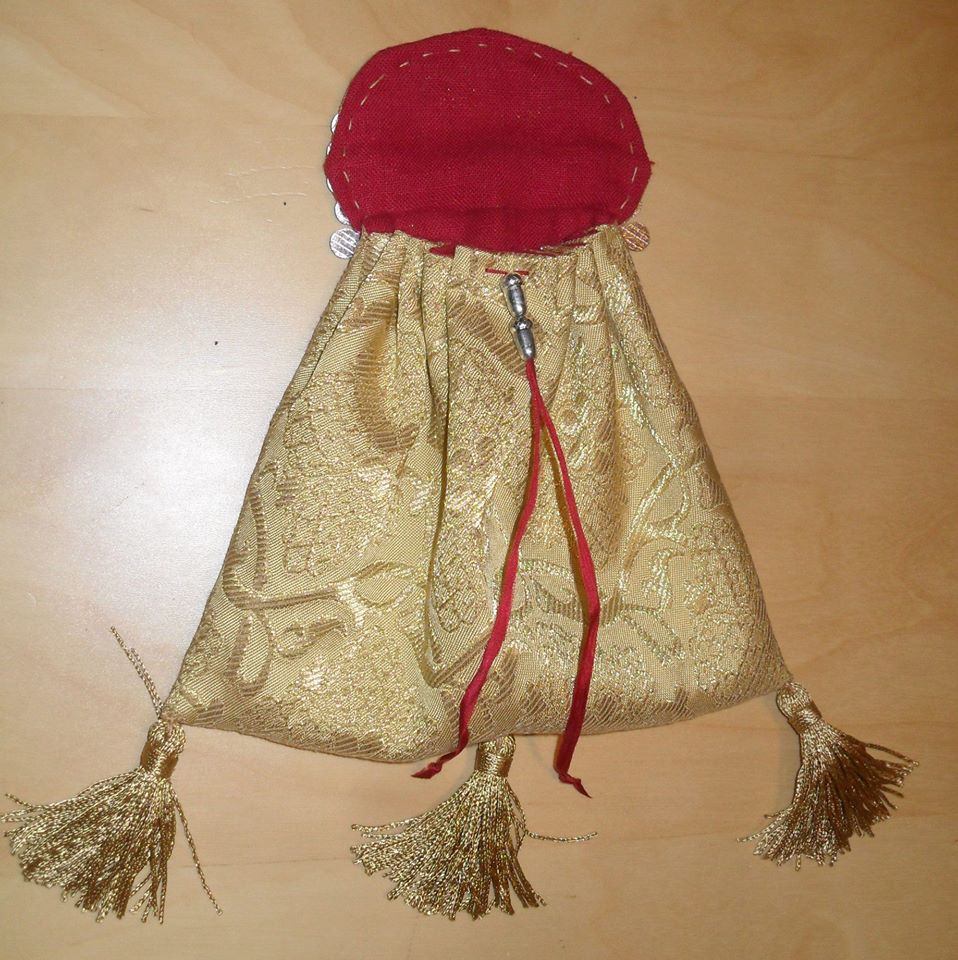
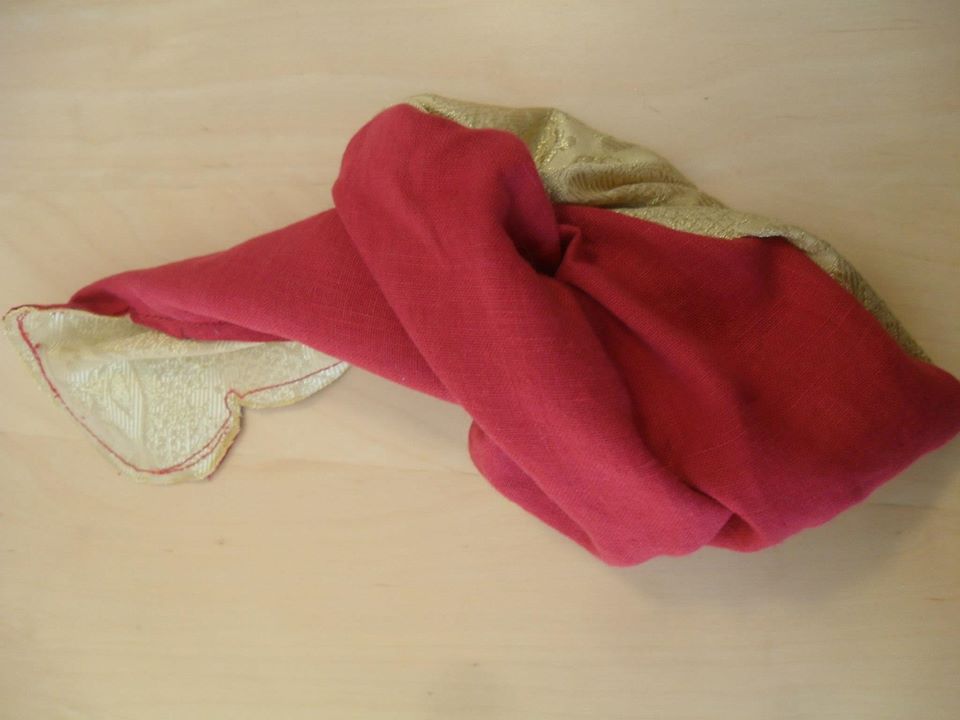
Ta- daaaa!
Let us know in the comments what has worked well for you – or what you are struggling with.
Photos first published Feb 1, 2013. Text revised and expanded Nov. 7, 2019