Posted on Leave a comment

Getting Crafty with Billy and Charlie: Belt Studs

These are all the tools you need to install mounts (studs) on a belt: A ruler, a nippers, an awl, a small tube punch, a hammer, and an anvil. Our “anvil” is a block of steel covered with one layer of thin cardboard – the weight of a cereal box or the cardboard on the back of a pad of paper. Do not use leather as a pad – it is too soft and the stud will deform into it.

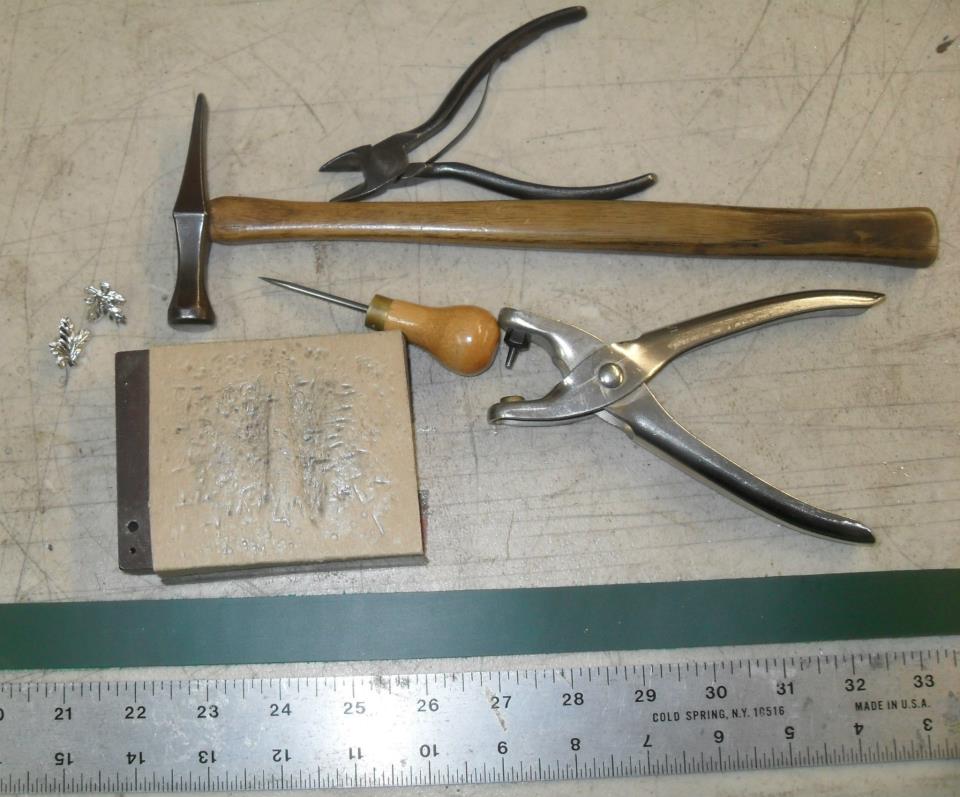
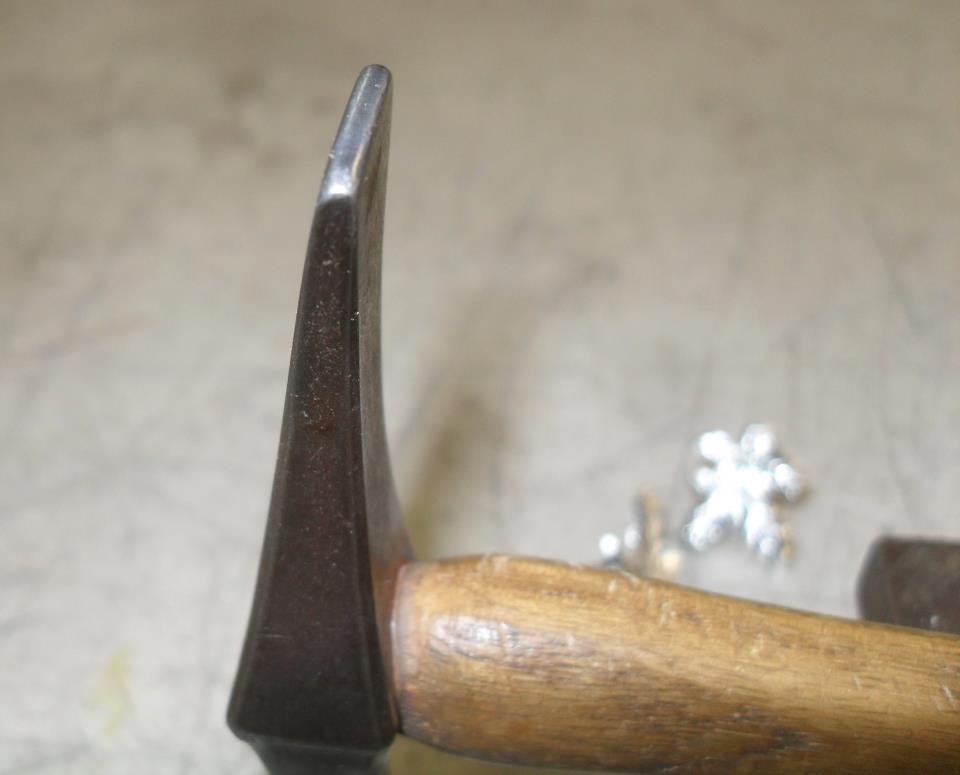
The ideal hammer is a small cross pein (or peen) – which may just be called a “riveting hammer” on jewelry supply sites – with a head weight of 1 to 2 ounces (25 to 60 grams). We use a hammer with a head Mac ground down from something larger, but you can buy usable cross peins from jewelers’ suppliers inexpensively. (Under $10. You do not need imported Swiss watchmakers’ hammers to do this.)

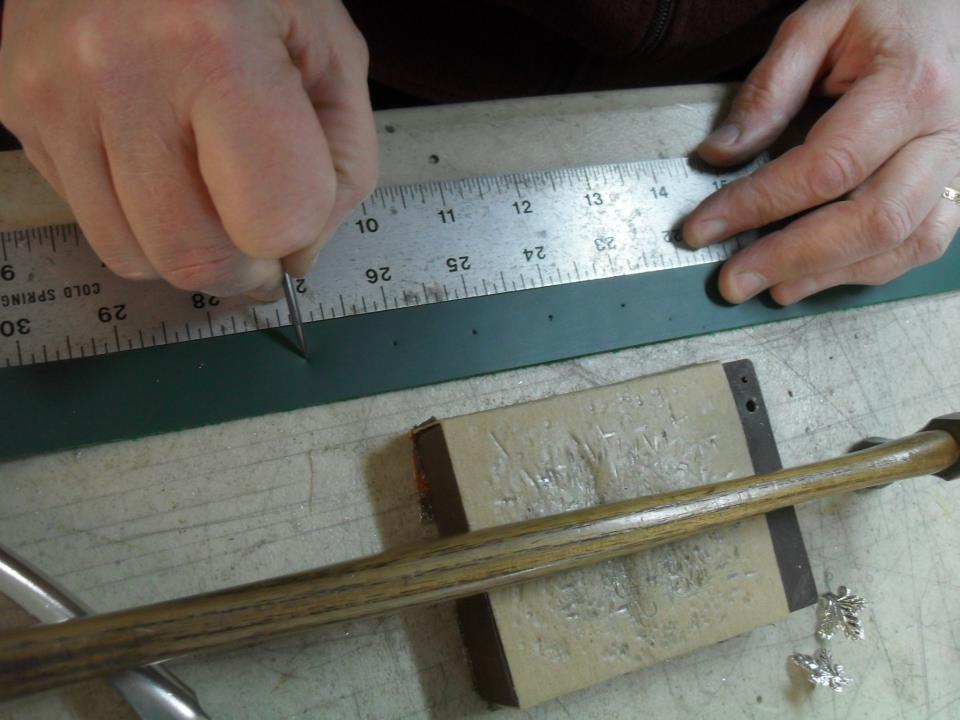
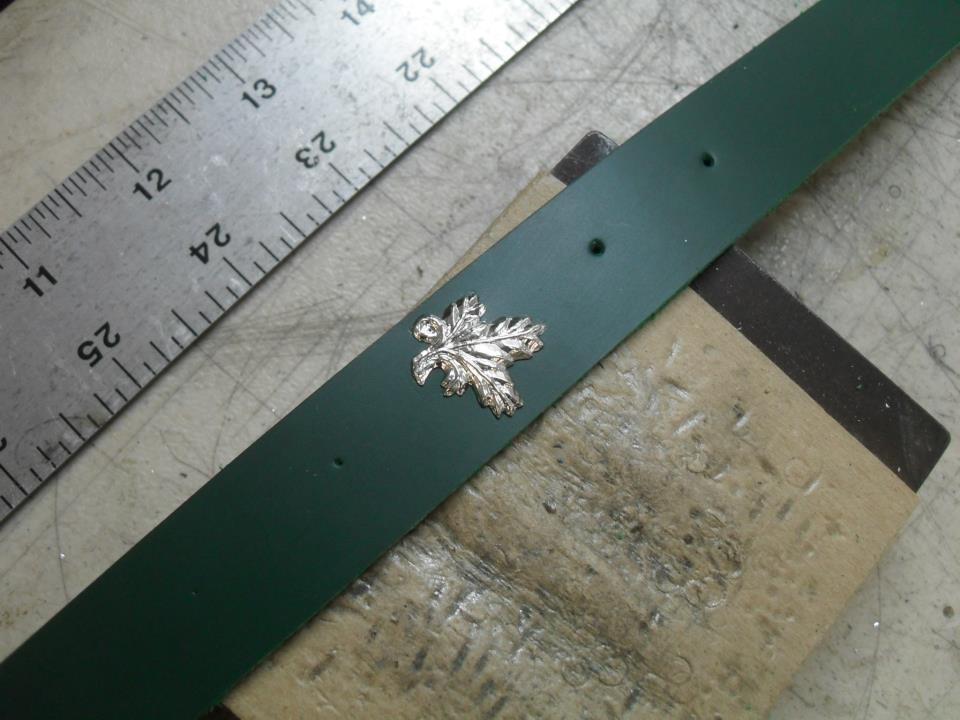
Use the ruler and the awl to mark stud locations..

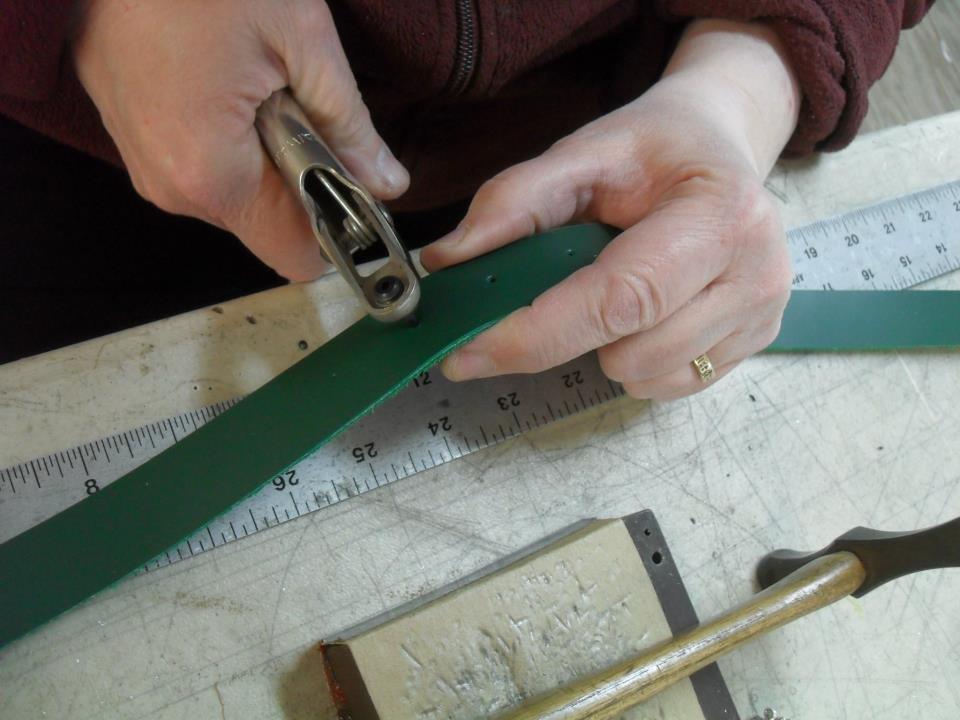
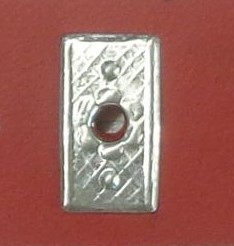
Use a very small tube punch to make holes for the studs. The hole should be smaller than the smallest hole made with a normal rotary leather punch.

The hole must be smaller than the stem of the mount or rivet. If you do not have a small punch, you should force a hole open with an awl – or a nail.

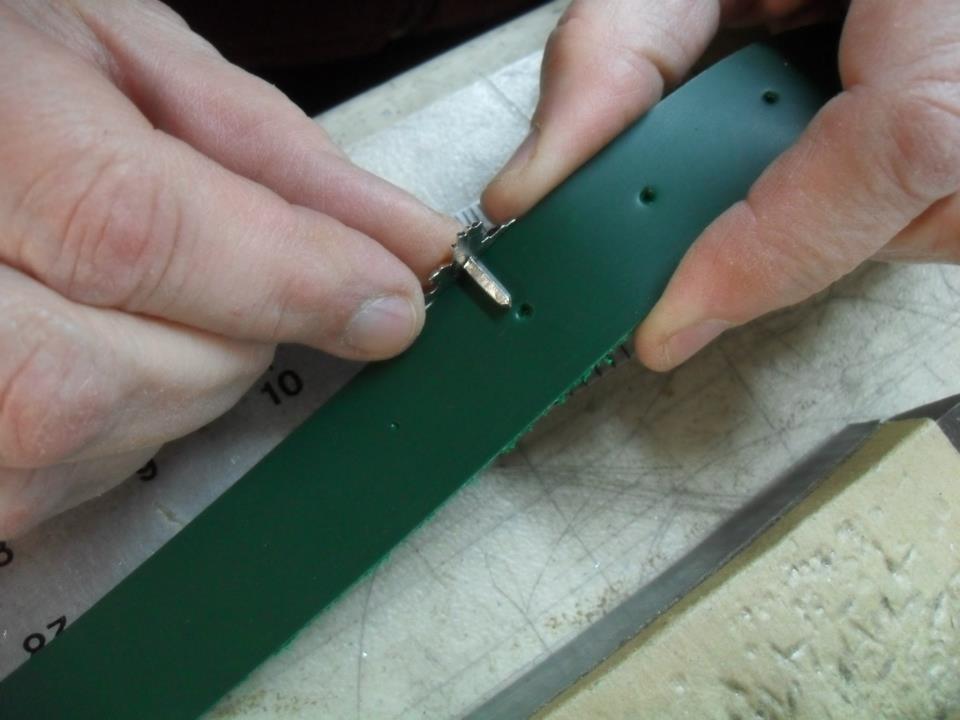
Or anything that makes the hole small enough that you need to really press the stud to get the stem into the hole. It should be a tight fit.

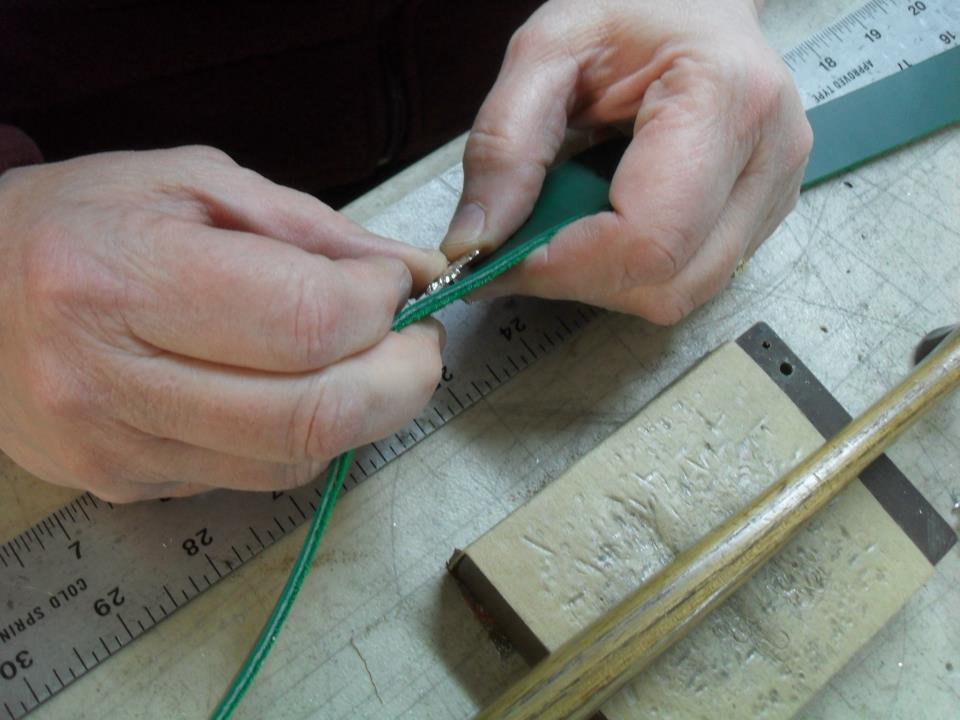
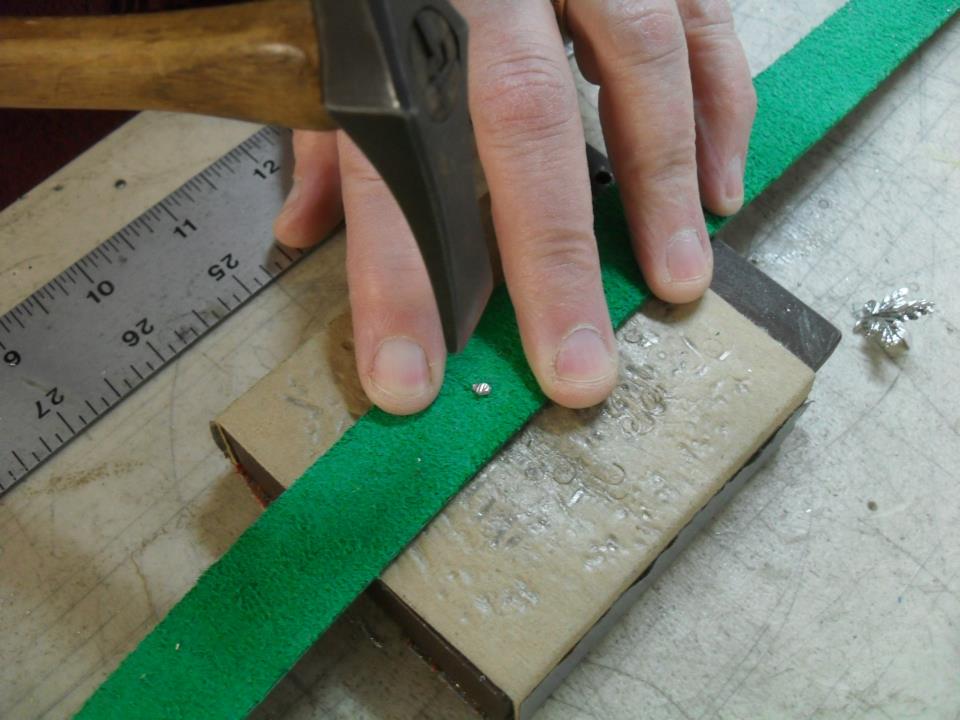
Nip off the excess stem.

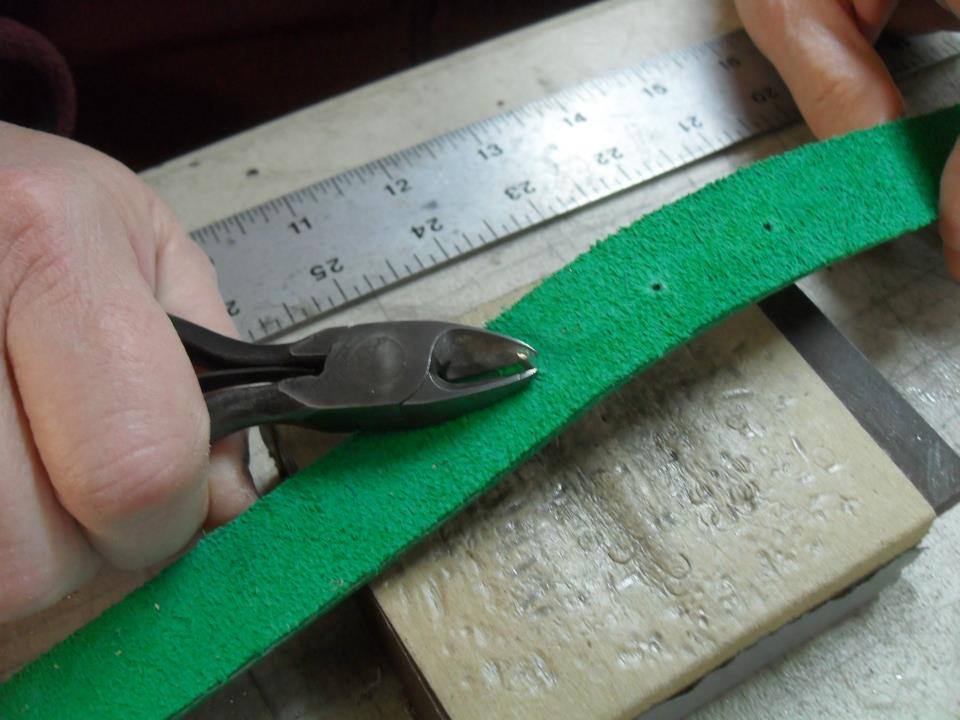
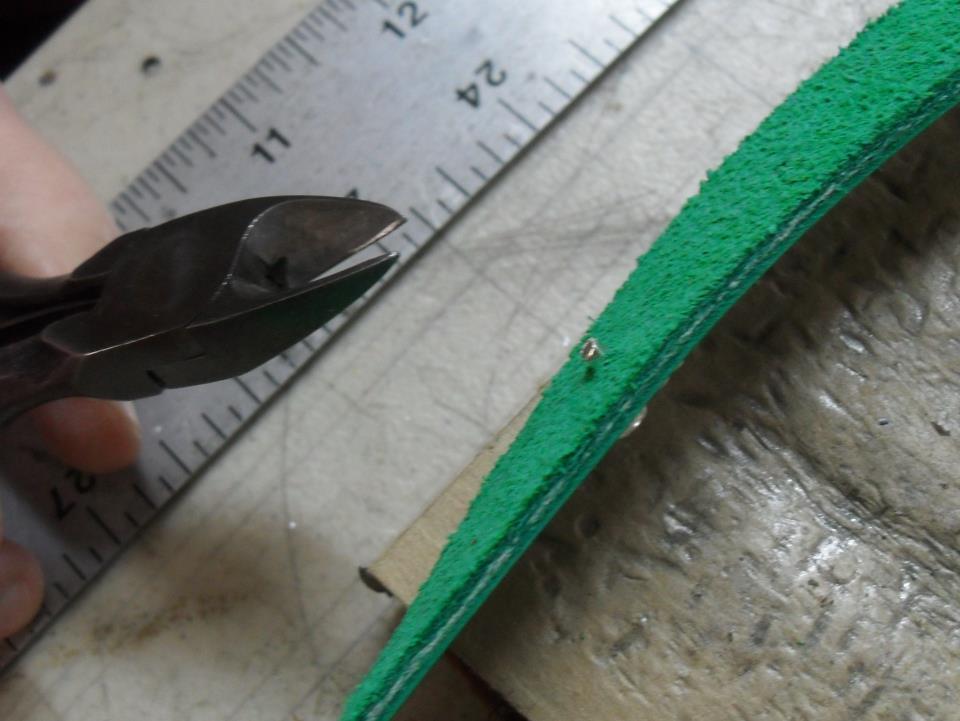
The amount of stem protruding should be less than the diameter of the stem.

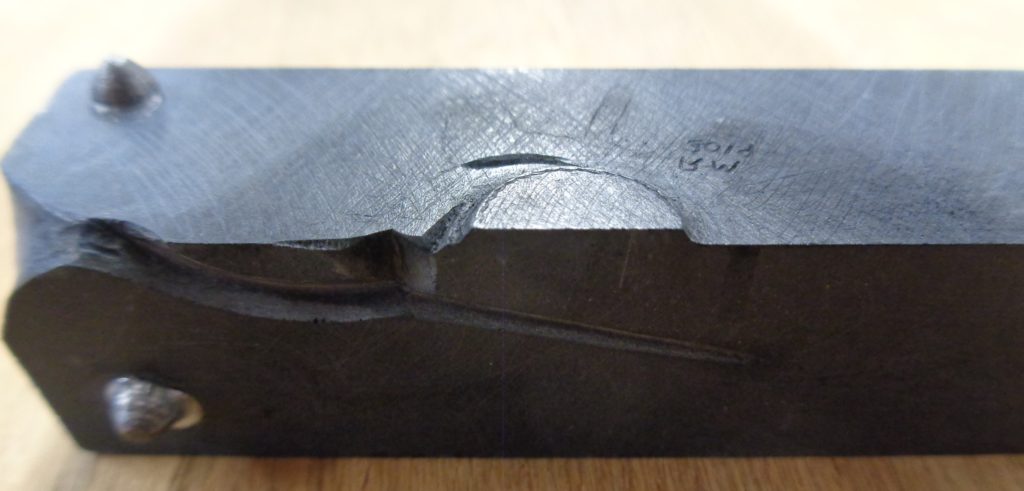
20 little taps in one direction…

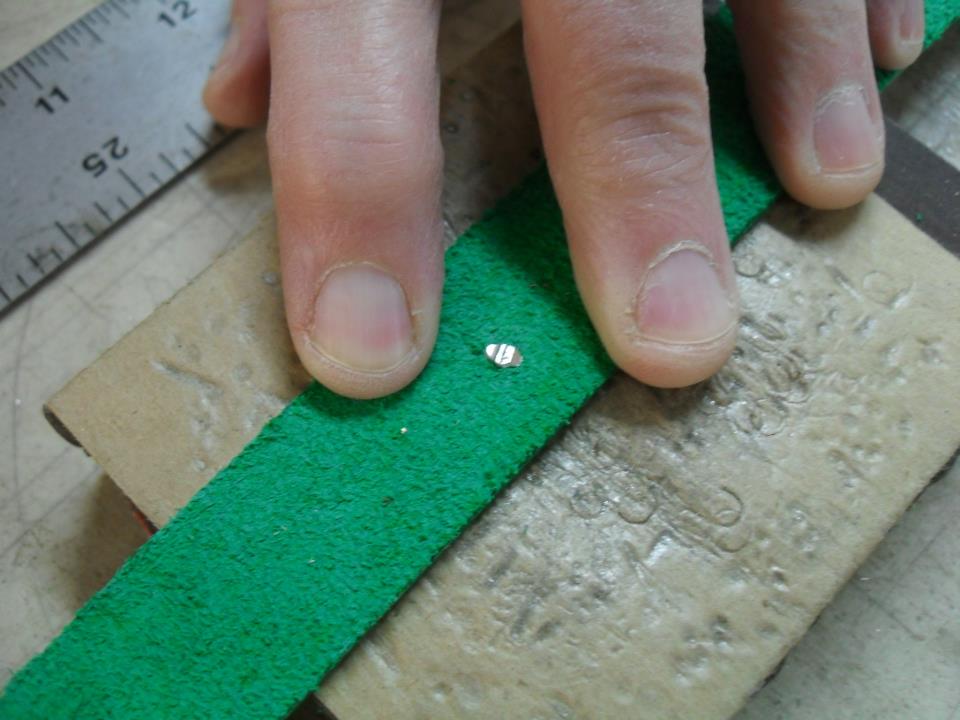
…makes it look like this

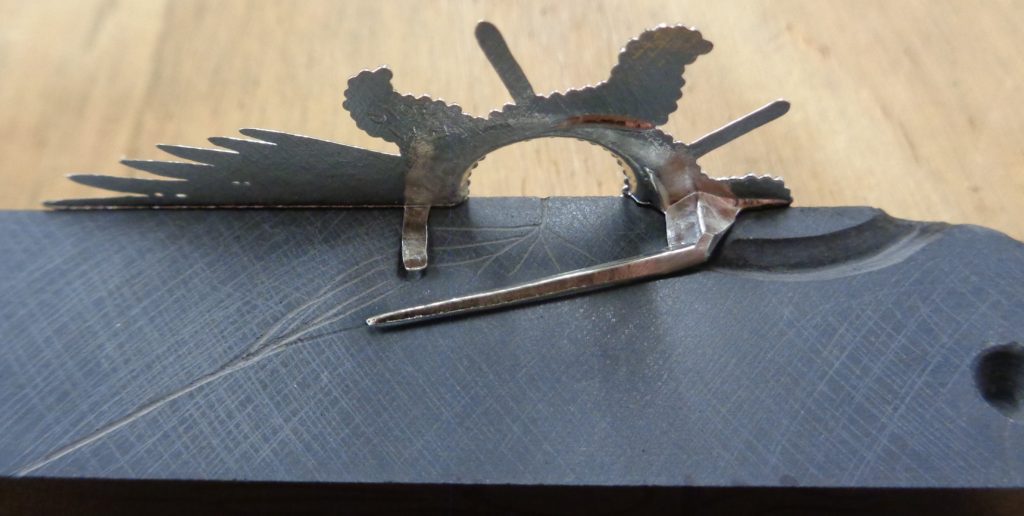
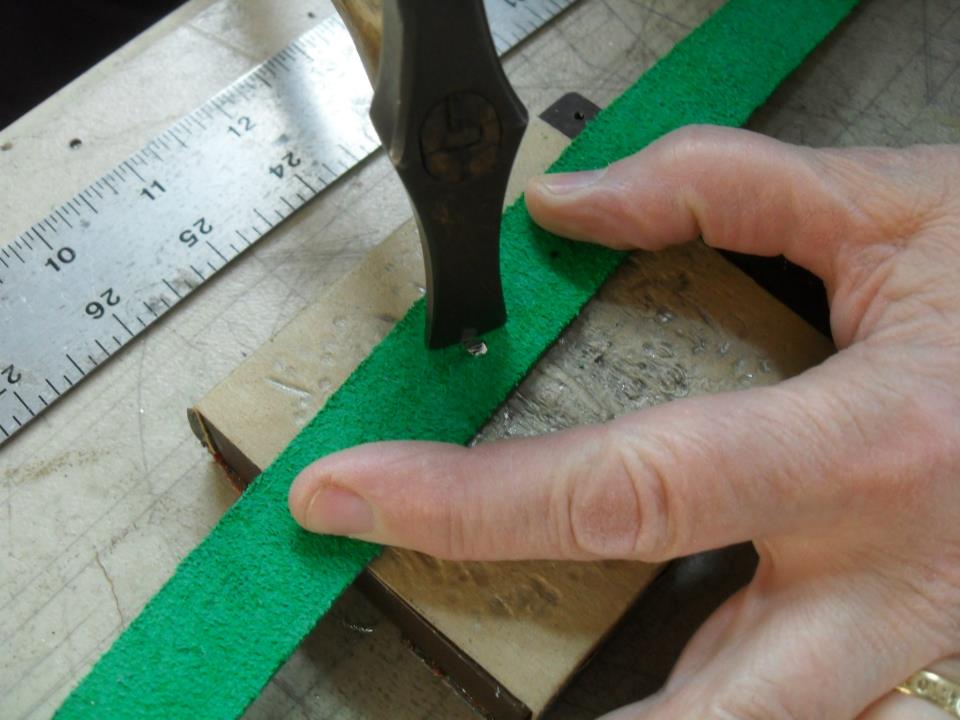
20 little taps in the other direction…

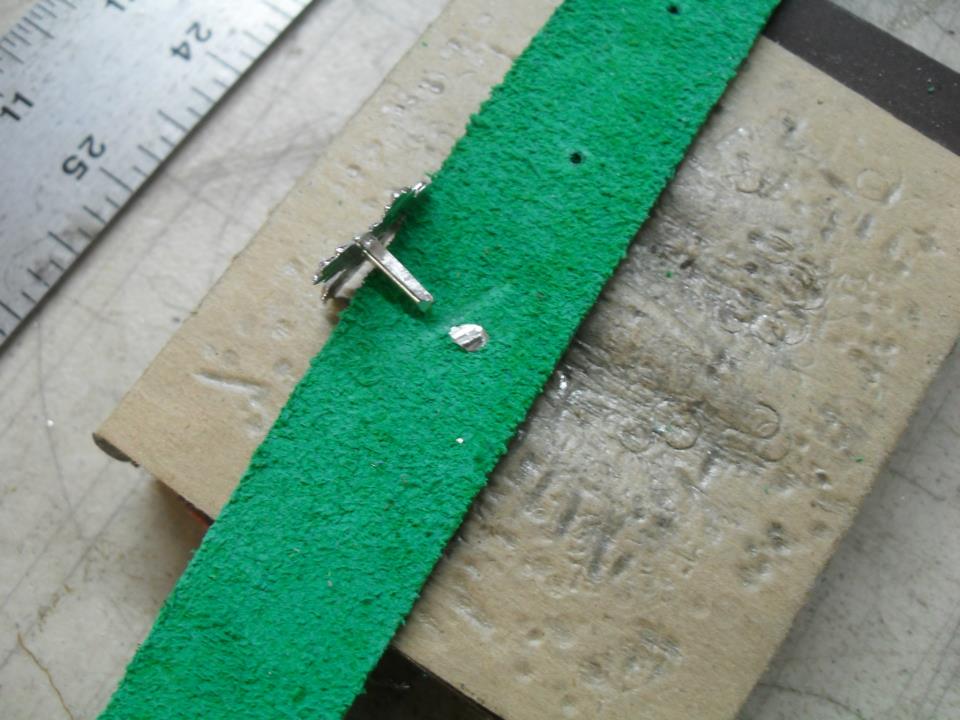
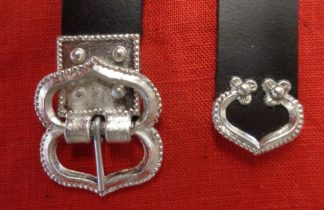
…finishes the job. Note that the rivet is spread out – the cross pein hammer moves the metal sideways to create a mushroom. This will hold the mount securely to the strap. If you just crush the stem with a ball pein or a similar hammer, it will open the hole up and damage the leather. The stud may or may not fall out.

Done! Now you, too, will be able to install mounts on a belt!

mount installed on a belt

Originally posted January 2013.

Posted on Leave a comment

How to Wear a Ring Brooch

Do you know how to put a ring brooch on? These brooches, which were ubiquitous throughout the High Middle Ages, are beautiful and easy to wear, once you’ve learned the trick. Here we go, in three easy steps:

Pull a pinch of fabric up through the ring from the back. Pierce the fabric, and let it slide along the pin.

Let the fabric smooth out and fill the inside of the ring brooch.

Let the fabric smooth out and fill the inside of the ring brooch.

And remember to check out our selection of ring brooches!

Posted on Leave a comment

Sign up for updates

Now that we have modernized Billy & Charlie’s online presence, we may occasionally be inspired to share updates with our fans. This may include Tech Treats, occasional sales, or product announcements.

Please let us know what you would like to hear about! (This is a service still in development, so don’t expect many emails from us.)

    Sign up to receive our (very infrequent) updates.

    Your name

    Your email

    I am interested in (check all that apply):

    Posted on Leave a comment

    Comet Brooch Mold

    We got an inquiry from a fellow pewterer about how the stones are held into the comets, and how we recognized that the casting includes clips that are pressed back to hold them in place. Here are some shots of the comet brooch mold, the castings, and the photos we worked from of the medieval originals that helps answer those questions. We didn’t have a casting that had not been clipped and cleaned to hand when we got this inquiry, so you must imagine the sprue and gates are still present. The mold is made in three parts: one for the front and two back pieces that contain the sprue (casting gate) and also create the pin.

    The raised area in the back pieces.

    The front piece of the mold casts the round setting for the stone and the high part of the back pieces makes the opening in the setting where ti rises to touch the front.

    A casting with the clips folded back to retain the stone.

    Images of originals – the green arrows point to the places where the clips emerge and are folded back.

    Drawings of original brooches that cast incompletely, and were never pressed into service. The green arrows point to unfolded clips.

    Although it has only three pieces, the comet brooch mold casts a pretty complex piece.

    Posted on Leave a comment

    Dross

    You, perhaps, are beginning to think of Pennsic. We are too! Mac began casting stock in earnest on Sunday, and today he took advantage of nice weather to reclaim (outdoors) usable pewter from the dross we skim off the pot as we cast. That’s 10 pounds, 15 ounces of good pewter. There were also 2 pounds of unusable dust and crud. This leads to the interesting observation that nearly 85% of the dross we have to clear to cast conveniently is actually usable pewter. Although we are careful about where we put our skimmings when we cast a different alloy or pure tin, we routinely use the reclaimed metal in heavy, thick pieces where tiny variations in the resulting alloy cannot cause any trouble. Most of this is scheduled to be turned into our larger buckle frames.